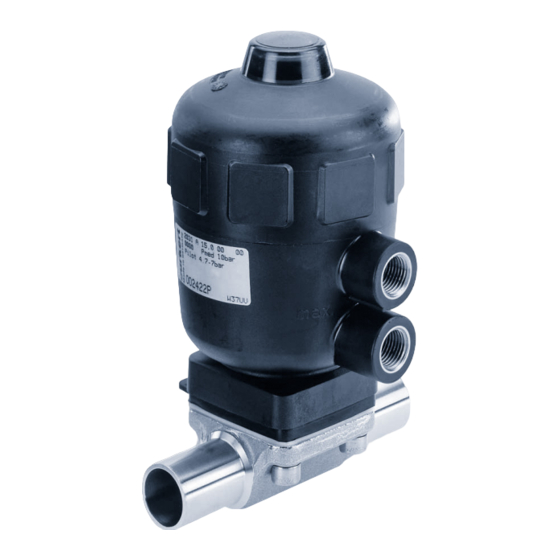
Burkert 2033 빠른 시작 매뉴얼 - 페이지 11
{카테고리_이름} Burkert 2033에 대한 빠른 시작 매뉴얼을 온라인으로 검색하거나 PDF를 다운로드하세요. Burkert 2033 19 페이지. Piston-operated diaphragm valves

Type 2030, 2031, 2031 K, 2032,
Mark
Inclination to
the line axis
α= 1° – 5°
Fig. 2:
Installation position for self-drainage of the body
7.1.3 Installation position of T-valve Type 2032
The following positions are recommended for installation in the ring
circuits:
For supply of a medium:
Fig. 3:
Installation position of Type 2032
7.1.4 Installation position of Y-valve Type 2037
The following positions are recommended for installation in the
systems:
For supply of a medium:
Fig. 4:
Installation position of Type 2037
2033, 2037
Installation
upwards
For removal of a medium:
For removal of a medium:
7.1.5 Welding tank bottom body type 2033
Recommendation
Observe sequence:
1. Weld the tank bottom body onto the base of the tank
before installing the tank. Welding onto a tank which has
α
already been installed is possible but more difficult. Weld
the tank bottom body in the middle of the tank base so that
the tank can be optimally drained.
2. Weld tank bottom body into the pipeline.
Installation requirements:
Pipelines:
Ensure that the pipelines are aligned.
Preparation: Support and align pipelines. To ensure that the
pipeline is self-draining, observe an inclination angle
of 1°...5°.
DANGER
Risk of injury from high pressure.
▶ Before working on the system, switch off the pressure and
vent or drain lines.
For information on tanks and instructions on welding
observe the standard ASME VIII Division I.
Before you start welding, check the batch number indicated
on the supplied manufacturer's certificate 3.1.
Observe the applicable laws and regulations of the
respective country with regard to the qualification of
welders and the execution of welding work.
english
11
