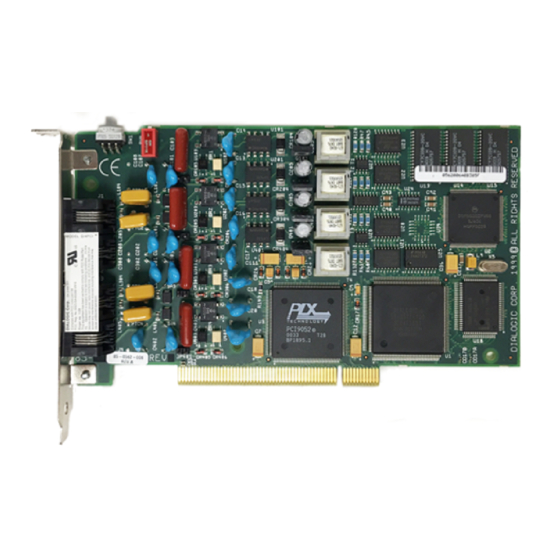
Dialogic D/4PCI 설치 및 교체 - 페이지 7
{카테고리_이름} Dialogic D/4PCI에 대한 설치 및 교체을 온라인으로 검색하거나 PDF를 다운로드하세요. Dialogic D/4PCI 19 페이지. Linecard
Dialogic D/4PCI에 대해서도 마찬가지입니다: 설치 및 교체 (18 페이지)

4. From the File menu, select Exit.
5. Turn off the computer, unplug its power cord, and remove its cover.
6. Verify that the linecard identification number and the default line state are configured
correctly (refer to "Preparing the D/4PCI Linecard for Installation" for instructions).
7. Select a PCI expansion slot.
If the linecard...
Replaces an existing linecard
Adds ports to the OneBox platform
8. Insert the linecard into the PCI bus slot. Gently press the linecard down to seat the
edge connector into the slot, applying pressure only to the top edge of the board.
Rocking the card or applying excessive pressure on the card or the bus connector may
cause damage.
9. Attach the retaining screw.
10. If you are installing another linecard, repeat steps 6–9.
11. After installing the linecard(s), replace the computer's cover and plug in the power
cord.
12. Proceed to the following section "Connecting the D/4PCI to the Telephone System."
ã
R2B Copyright
Ericsson Enterprise AB 2001
Dialogic D/4PCI Linecard Installation and Replacement
Then...
Remove the existing linecard from the PCI
expansion bus slot and use this expansion
slot for the replacement linecard.
Select an empty PCI expansion bus slot that
will be assigned IRQ 5, and remove the
slot's retaining screw and access cover plate.
7
