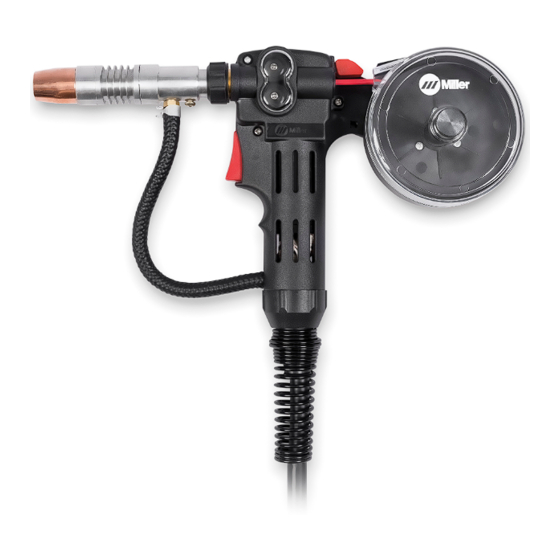
Miller Spoolmate 150 소유자 매뉴얼 - 페이지 20
{카테고리_이름} Miller Spoolmate 150에 대한 소유자 매뉴얼을 온라인으로 검색하거나 PDF를 다운로드하세요. Miller Spoolmate 150 36 페이지.

4-6.
Installing Wire Spool And Threading Welding Wire
1
3
tools/
philips head
5
steelbrush
nutdriver
tools/
flathead
light-duty workclamp
knife
steelbrush
greasegun
OM-272384 Page 16
heavy-duty workclamp
7
6
5
3
9
10
wrench
crescent wrench
chippinghammer
Wood
philips head
wirecutter
frontcutter
nutdriver
filterwrench
light-duty workclamp
wirecutter
8
4
2
2
4
6
804 985-A
wrench
crescent wrench
chippinghammer
frontcutter
1 Thumb Screw
2 Spool Cover
Remove thumb screw and spool cover.
3 Hub Tension Nut
4 Wire Spool
1
Install spool so wire feeds from top. Turn hub
tension nut just so a slight drag is felt on the
wire spool.
5 Push Roll/Lower Drive Roll
6 Drive Roll Pressure Adjustment Opening
7 Drive Roll Release Lever (Red)
8 Wire Inlet Guide
9 Contact Tip
10 Nozzle
Step 1. Remove nozzle and contact tip.
Push and hold red lever. Thread wire
through inlet guide, past push roll/drive roll,
and out end of gun 2 inches (50 mm).
Step 2. Release red lever.
Step 3. Install contact tip and nozzle. Rein-
stall spool cover and thumb screw.
Step 4. Turn On welding power source
power.
Step 5. Press gun trigger to feed wire to
check drive roll pressure. Turn screw enough
to prevent slipping.
�
Drive roll pressure is preset for .030/
.035 aluminum wire. Rotating screw
clockwise decreases drive roll pressure
and
counterclockwise
pressure.
Step 6. Cut off wire.
increases
