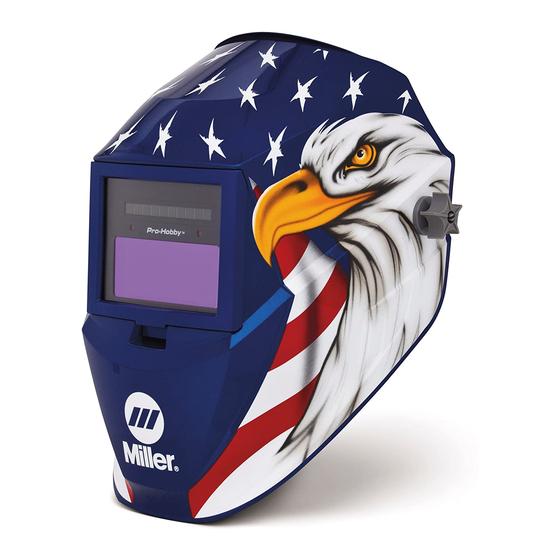
Miller Digital Pro-Hobby 매뉴얼 - 페이지 20
{카테고리_이름} Miller Digital Pro-Hobby에 대한 매뉴얼을 온라인으로 검색하거나 PDF를 다운로드하세요. Miller Digital Pro-Hobby 32 페이지. Auto-darkening helmets

5-5. Replacing The Lens Covers On Digital Elite Standard Helmets
Be sure flat side
of gasket faces
helmet shell.
!
Never use the auto-
darkening lens with-
out the inside and out-
side lens covers prop-
erly installed. Welding
spatter will damage
the
auto-darkening
lens and
warranty.
1
Front Lens Gasket
2
Outside Lens Cover
3
Lens Assembly Gasket
4
Lens Assembly
5
Inside Lens Cover
6
Lens Frame
OM-256 476 Page 18
Be sure wide edge
of gasket faces
helmet shell.
Remove the lens assembly
to remove either lens cover.
To remove the lens assem-
bly, push down on the helmet
bottom retaining arms and
push the retaining clips to-
ward the outside of the hel-
void
the
met. Lift up on the assembly
and pull free of the helmet.
Outside Lens Cover
Remove the outside lens
cover by pushing cover into
the helmet. Remove the rub-
ber lens gasket and install on
the new lens cover. Reinstall
the lens assembly.
2
1
4
3
.
Be sure the flat side of
lens cover gasket faces
the helmet shell.
Inside Lens Cover
To replace the inside lens
cover, remove the lens as-
sembly from the lens frame
by pushing up on the top two
retaining tabs while gently
pushing the lens free.
Remove the lens cover by
sliding it out of either side.
Replace with the new cover
lens and reinstall the assem-
bly in the helmet.
6
5
Ref. 805 012
