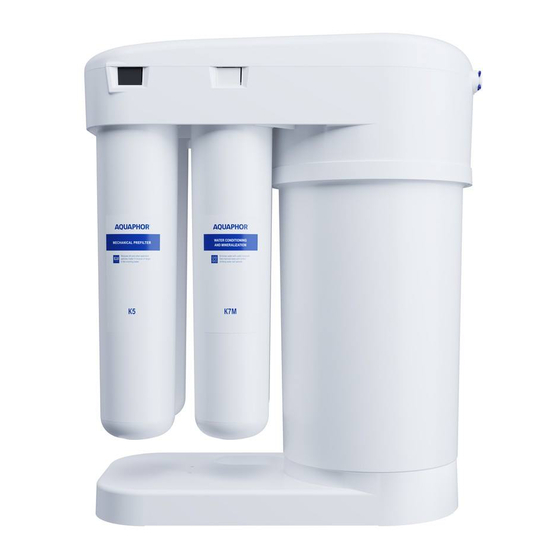
AQUAPHOR RO-101S 소유자 매뉴얼 - 페이지 12
{카테고리_이름} AQUAPHOR RO-101S에 대한 소유자 매뉴얼을 온라인으로 검색하거나 PDF를 다운로드하세요. AQUAPHOR RO-101S 20 페이지. Reverse osmosis system
AQUAPHOR RO-101S에 대해서도 마찬가지입니다: 소유자 매뉴얼 (20 페이지), 소유자 매뉴얼 (16 페이지)

7. Drain saddle installation
We highly recommend that you install the drain saddle on the sink drain, before the
siphon trap or bend (the drain saddle on most of the drain pipes is of ~40 mm diameter).
Apply the part of the collar with the fitting to the pipe to determine the optimal position of the collar and
1.
the pipe hole.
Drill a 7 mm hole in the planned tube location on the tube pipe.
2.
Remove the cut circle from the sealing gasket (1).
3.
Remove the protective tape (2) from the sealing gasket (1). Place the sealing gasket (1) on the collar inner
4.
side, so that the hole in the gasket meets the hole in the collar fitting.
Install the collar onto the pipe, carefully aligning the hole in the fitting with the drilled hole; tighten the bolts (3).
5.
The bolts must be tightened evenly in such a way that the two parts of the collar are located in parallel.
Put the plastic nut onto the JG drain tube (1/4", black) so that the tube is protruding from the other side of
6.
the nut by a length of 20 mm (see figure 9b).
To eliminate any noise from the water in the drain saddle, push the JG tube deeper into the pipe.
12
Figure 9a. Drain saddle components
Figure 9b. Drain saddle installation
AQUAPHOR RO-101S REVERSE OSMOSIS SYSTEM
