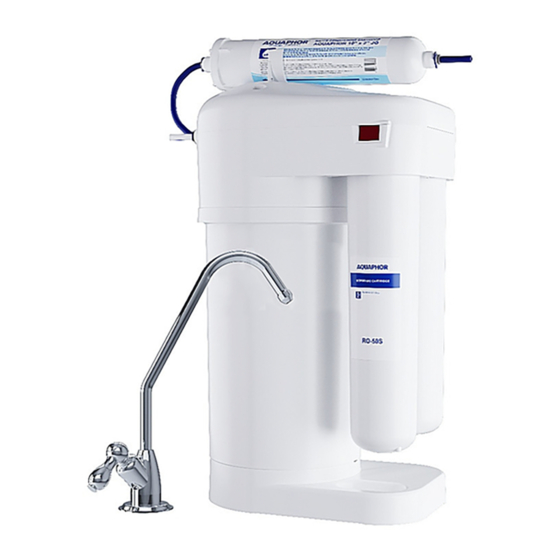
AQUAPHOR RO-70S 소유자 매뉴얼 - 페이지 5
{카테고리_이름} AQUAPHOR RO-70S에 대한 소유자 매뉴얼을 온라인으로 검색하거나 PDF를 다운로드하세요. AQUAPHOR RO-70S 13 페이지. Drinking water machine

• At an effort of 8–10 kgf, the tube should not be able to be pulled out.
• Set the input valve to the position Closed.
• Open the water from the main line.
Important! Make sure that the sealing pad was on its own place
and was not damaged during installation of the connection node.
Installation of the faucet for clean water* (fig. 4)
• Drill a 12 mm hole in the sink (countertop).
• Put the decorative stand (2), the rubber gasket (3), the rubber washer
(4) on the threaded shank (1) of the faucet and insert the tap into the
wash hole.
• Place the plastic washer (5), the metal lock washer (6) on the threaded
shank from the bottom of the countertop and screw the fastening nut
(7).
• Insert the tube (9) into the threaded shank of the tap (1) with the end
of the pressed metal sleeve and tighten the union nut (8) until it
stops;
• Check the strength of the tube (9). The tube should not be able to be
pulled out when using a force of 8–10 kgf.
Attention! We recommend that you use the clean water faucet
included with this product. The use of other faucets can lead to vibrations and other extraneous
sounds.
Drain saddle installation (fig. 5)
• It is the best install the drain saddle on the sink
drain before the siphon trap or bend (the drain
saddle on most drain pipes is of ~40 mm diameter).
• Remove the protective film (2) from the gasket (1).
Glue (or fasten) the sealing gasket (1) from the
inside of the clamp so that the hole in the gasket
matches the hole in the saddle union.
• Install the saddle on the drain line and then tighten
the bolts (3). Bolts should be tightened evenly, so
that the two parts of the yoke are parallel.
• Drill a hole 7 mm in diameter through the hose
connection.
• On the JG drain tube, put on the plastic nut and,
inserting the tube into the drainage collar, screw the nut onto the nipple.
Installing the crevice insert** (fig. 6)
• Remove the crevice insert, which is under the cover of the water
purifier. In order to remove the cover, it is necessary to turn the
three latches counter-clockwise.
• Insert the crevice insert into the 3/8" (9.5 mm) tube as shown in
fig. 6 and connect this end of the tube to the water cleaner.
Attention! The kit includes three inserts: one for the
installation, two are spares.
* The manufacturer reserves the right to use the connection points and
faucet of a similar design. If necessary, contact the after-sales service.
** The crevice insert is installed only for the water with a high content of
mechanical impurities in the water.
AQUAPHOR RO-70S | Owner's manual
1
2
3
4
5
6
Figure 4
Figure 5
Crevice
insert
Figure 6
5
