Aquasana AQ-5200.56 소유자 매뉴얼 - 페이지 5
{카테고리_이름} Aquasana AQ-5200.56에 대한 소유자 매뉴얼을 온라인으로 검색하거나 PDF를 다운로드하세요. Aquasana AQ-5200.56 9 페이지. Under sink

6
INSTALLATION STEPS
2
6
Attach Filter Housings
Attach each filter housing to the bottom of the system manifold.
Ensure connection points are correctly aligned, then push the
filter housing up while turning clockwise. Continue this step for
each filter housing.
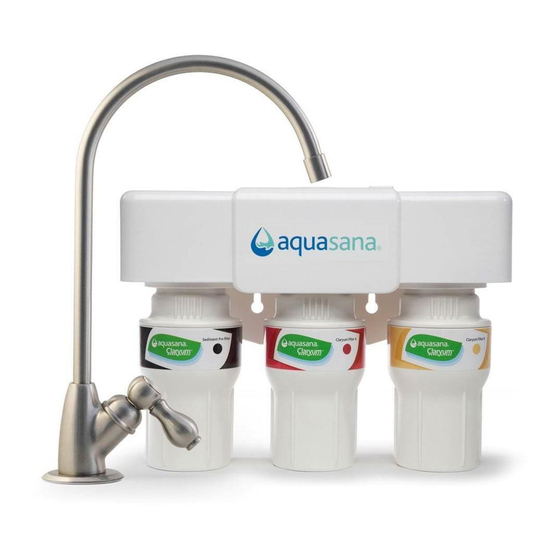
A. Attach first Claryum® filter housing (red).
B. Attach second Claryum® filter housing (yellow).
C. For AQ-5300: Attach Pre-Filter housing (black).
D. For AQ-5300+: Attach Pre-Filter housing (green).
AQ-5200
A
B
NOTE: Ensure all filter housings are attached and locked in place. Ensure the
filter housings are not on an angle while attaching. This may result in damage
to the o-ring. Do not lubricate the o-rings.
AQ-5300
AQ-5300+
7
Connect Water Supply Lines
A. Push the faucet tubing from the
brass tee end into the inlet side
(left side).
A
NOTE: Ensure tubing is completely inserted so leaking does not occur. A fully
connected tube must be inserted up to an inch.
Flush System
8
A. Turn on cold water and check for leaks.
B. Flush water for 10 minutes to remove carbon fines.
NOTE: Do not drink flushed water.
INSTALLATION STEPS
B. Push the tubing from the
faucet side into the outlet
side (right side).
B
7
