Aquasana OptimH2O AQ-RO-3 소유자 매뉴얼 - 페이지 8
{카테고리_이름} Aquasana OptimH2O AQ-RO-3에 대한 소유자 매뉴얼을 온라인으로 검색하거나 PDF를 다운로드하세요. Aquasana OptimH2O AQ-RO-3 16 페이지. Whole house water filter
Aquasana OptimH2O AQ-RO-3에 대해서도 마찬가지입니다: 소유자 매뉴얼 (14 페이지), 소유자 매뉴얼 (11 페이지), 소유자 매뉴얼 (10 페이지)

6
INSTALLATION STEPS
Cut Pipes
5
1. Cut pipe along the marked sections from step 4 and
clean ends of pipe. Ensure there are no burrs, sharp
edges, or deep scratches.
NOTE: Cut tubing as straight as possible with a utility knife, or an appropriate
pipe cutter for copper, PVC, or PEX tubing.
2. Loosely fit shut-off valve to calculate proper spacing of
components.
Configure System
6
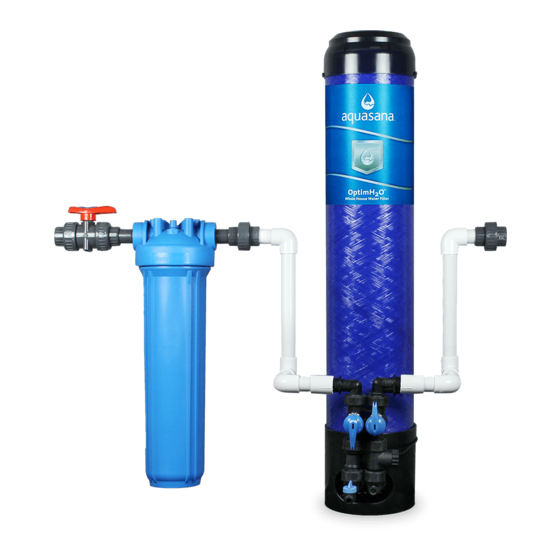
1. Fit OptimH2O
this time. Screw Pre-Filter support bracket onto the wall and attach filter.
NOTE: Ensure wall material is stable enough for mounting purposes. The filter
housing will become very heavy when full of water.
2. Properly connect system together accordingly (slip fittings, barbed fittings,
NSF certified PVC glue, etc.). Ensure all parts are flowing through the "IN"
port in the correct direction of water flow.
tank and additional optional add-ons into the system at
®
