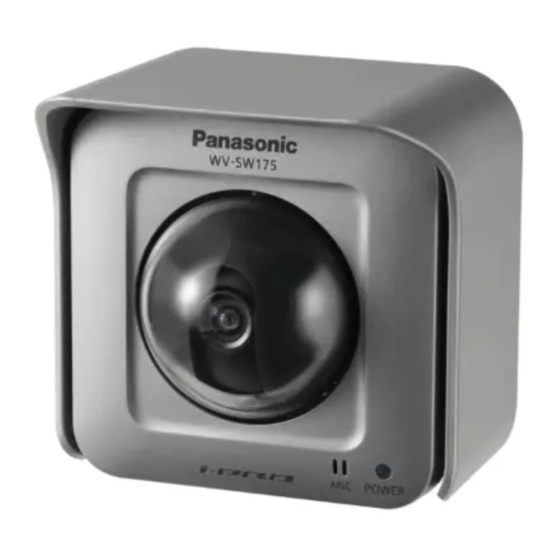
Panasonic WV-SC385 설치 매뉴얼 - 페이지 20
{카테고리_이름} Panasonic WV-SC385에 대한 설치 매뉴얼을 온라인으로 검색하거나 PDF를 다운로드하세요. Panasonic WV-SC385 36 페이지. Ip video cameras
Panasonic WV-SC385에 대해서도 마찬가지입니다: 사양 (2 페이지), 설치 매뉴얼 (40 페이지), 비교 차트 (6 페이지), 설치 매뉴얼 (40 페이지), 설치 매뉴얼 (40 페이지), 통합 참고 사항 (8 페이지)

Wire without making a hole in the ceiling
Step 1
Install the camera by following step 1 and steps 3 - 8 of the
"Wire through a hole in the ceiling" section (☞ pages 16 - 18). It
is unnecessary to make a hole in the ceiling as described in step
2 of the "Wire through a hole in the ceiling" section.
Step 2
Remove the tab on the rear of the decorative cover (accessory)
that is blocking the wiring hole.
Attach the decorative cover by following step 9 of the "Wire
through a hole in the ceiling" section (☞ page 19).
Wire through the wiring hole of the decorative cover.
Place the camera upside-down by fixing on the bracket
When using the camera upside-down, fix the camera using the camera mount bracket (accessory) to prevent a fall. If nec-
essary, attach the decorative cover (accessory) to the camera.
Install the camera by following step 1 and steps 3 - 9 of the "Wire through a hole in the ceiling" section (☞ pages 16 - 19).
When using the camera upside-down, select "On (desktop)" for "Upside-down" on the [Cam. Function] tab of the setup
menu. (☞ Operating Instructions (PDF))
Important:
• Prepare four fixing screws (M4 or M6) to be used to mount the camera mount bracket (accessory) according to the
material of the place where the camera mount bracket is to be installed.
20
N
O P E
