Panasonic AW-HS50 Series 매뉴얼 - 페이지 4
{카테고리_이름} Panasonic AW-HS50 Series에 대한 매뉴얼을 온라인으로 검색하거나 PDF를 다운로드하세요. Panasonic AW-HS50 Series 4 페이지. Combining pinp
Panasonic AW-HS50 Series에 대해서도 마찬가지입니다: 매뉴얼 (20 페이지), 브로셔 및 사양 (4 페이지), 매뉴얼 (2 페이지), 빠른 시작 매뉴얼 (4 페이지), 빠른 시작 매뉴얼 (6 페이지)

2.AW-HS50 Audio Settings
* In order that the audio superimposed on an SDI input signal is can pass through, the setting change below is required.
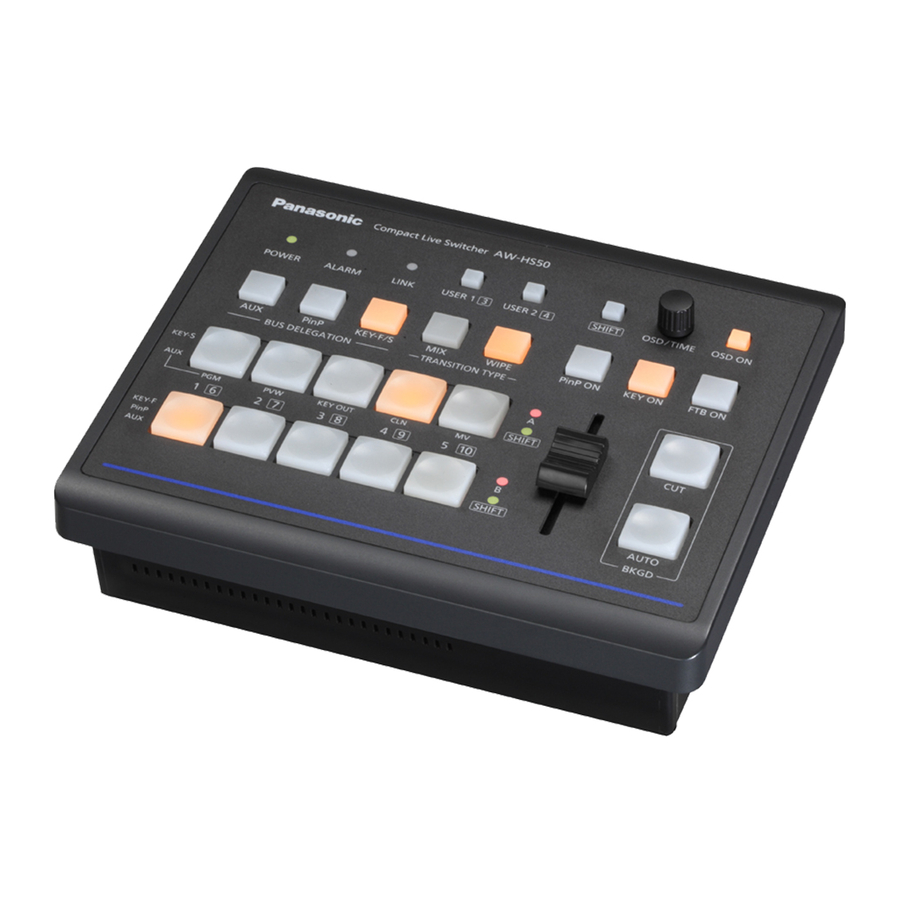
① Hold down OSD ON button – (Fig.5-A) for 2 seconds to open the menu. (Hold it down again for 2 seconds to
close the menu.)
② Use OSD/TIME dial – (Fig.5-B) to set the settings for individual output signals you want to allow to pass through.
Menu: [14]SYSTEM Menu – (Figure 6) > [Set the settings for output signals individually. – (Figure 7)]
<Note>
・You cannot fix and continue to output the audio of a specific input. When the video is switched, the audio is
also switched together.
・Even if an SD signal is input in DbyD or UC mode while AW-HS50's format setting is 1080/59.94i, 720/59.94p
or 1080/50i, the audio is not allowed to pass through.
(Figure 5: AW-HS50 Control Panel)
(*1) If PGM bus or others are selected for the AUX output signal, only the [On] setting of "4. AUX Anci" is not enough
for the audio to pass through.
When the following buses are selected, please change their settings in addition to "4. AUX Anci [On]".
・PGM is selected as a source. ⇒ 5.PGM Anci [On]
・PVW is selected as a source. ⇒ 6.PVW Anci [On]
・MV is selected as a source. ⇒ 7.MV Anci [PGM or PVW]
* If a selected source is KEY_OUT or CLN, the audio will not pass through.
4.For allowing the audio of a source selected at AUX buss to pass through: [On](*1)
5.For allowing the audio of a source selected at PGM buss to pass through: [On]
6.For allowing the audio of a source selected at PVW buss to pass through: [On]
7.Setting for the output signal for Multi View Display
For allowing the audio of a source selected at PGM bus to pass through: [PGM]
For allowing the audio of a source selected at PVW bus to pass through: [PVW]
(B)
(A)
(Figure 6: AW-HS50 Menu Display Screen)
(Figure 7)
* Screen shows default settings
