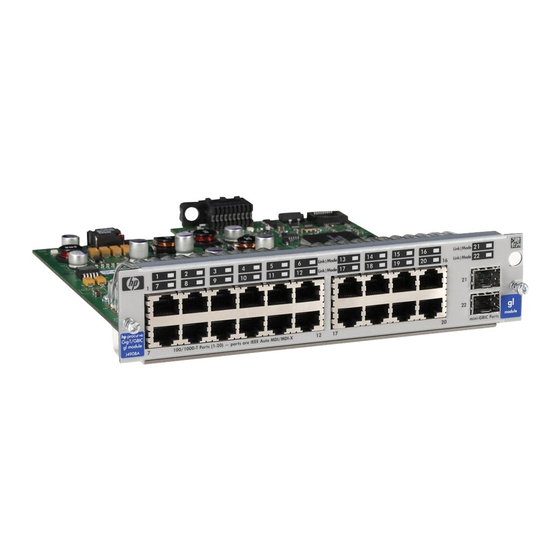
HP ProCurve J4864A 설치 매뉴얼 - 페이지 25
{카테고리_이름} HP ProCurve J4864A에 대한 설치 매뉴얼을 온라인으로 검색하거나 PDF를 다운로드하세요. HP ProCurve J4864A 36 페이지. Switch gl modules
HP ProCurve J4864A에 대해서도 마찬가지입니다: 설치 매뉴얼 (38 페이지)

Tip
Number
Problem
➏
The network
connection is not
working properly.
Try the following procedures:
• For the indicated port, verify that both ends of the cabling, at the switch and
the connected device, are securely connected.
• Verify the connected device and switch are both powered on and operating
correctly.
• Verify that you have used the correct cable type for the connection. See
"Cables" on page 22 for the correct cable specifications.
– For any of the twisted-pair connections, in the default configuration (Auto),
either a "straight-through" or a "crossover" cable can be used and the
switch will automatically adjust its operation. See the "Automatic Cable
Sensing" description on page 11 for more information.
Note: If the module configuration is changed to one of the fixed
configuration options though (for example, 100-Full Duplex), then the
port operates as MDI-X only and the correct type of cable must be used.
In general, for connecting to an end node (MDI port), use "straight
through" cable; for connecting to MDI-X ports on hubs or other
switches, use "crossover" cable.
– For a 1000 Mbps connection on twisted-pair cable, verify that the network
cabling complies with the IEEE 802.3ab standard. The cable should be
installed according to the ANSI/TIA/EIA-568-A-5 specifications. Cable
testing should comply with the stated limitations for Attenuation, Near-End
Crosstalk, Far-End Crosstalk, Equal-Level Far-End Crosstalk (ELFEXT),
Multiple Disturber ELFEXT, and Return Loss.
The cable verification must include all patch cables from any end devices,
including the switch, to any patch panels in the cabling path.
– for fiber-optic connections, verify that the transmit port on the switch is
connected to the receive port on the connected device, and the switch
receive port is connected to the transmit port on the connected device. Also
verify that the cables comply with the specifications shown on page 23.
• Verify that the port has not been disabled through a switch configuration
change.
You can use the console interface, or, if you have configured an IP address on
the switch, use the web browser interface, or HP TopTools for Hubs &
Switches network management software to determine the state of the port
and re-enable the port if necessary.
• Verify that the switch port configuration matches the configuration of the
connected device. For example, if the switch port is configured as "Auto", the
port on the connected device also MUST be configured as "Auto". If the
configurations don't match, the results could be a very unreliable connection
or no link at all.
• If the other procedures don't resolve the problem, try using a different port or
a different cable.
Solution
Troubleshooting
19
