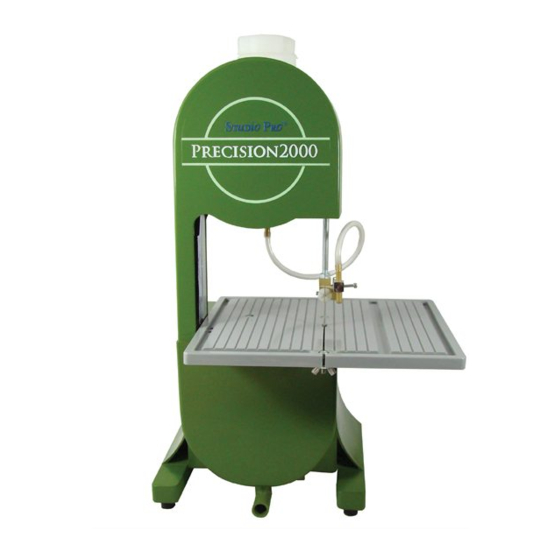
Diamond Tech Studio Pro Precision 2000 운영 매뉴얼 - 페이지 6
{카테고리_이름} Diamond Tech Studio Pro Precision 2000에 대한 운영 매뉴얼을 온라인으로 검색하거나 PDF를 다운로드하세요. Diamond Tech Studio Pro Precision 2000 8 페이지.

Fig.15
PRECISION 2000 DELUXE ASSEMBLY INSTRUCTIONS
A. Reservoir Installation
1) Place reservoir on a fi rm level surface, to prevent saw from tilting or rocking. The small compartment of the reservoir
should be on the left side of the saw.
2) Lift saw and insert feet into the 4 openings in the reservoir base (Fig. 17).
Fig.17
B. Recirculating Water System
The durable recirculating water pump and reservoir tray collects and recycles water.
1) Remove water bottle and tubing from the saw and set aside.
2) Place the PRECISION 2000™ with the reservoir on a solid level work surface, fl at-side facing forward.
3) Insert pump valve into the top of the recirculating water pump. Place pump in the left rear compartment of the
reservoir (Fig.18). Press down on the pump to activate the suction cups, securing pump to the bottom of the reservoir.
4) Connect the plastic tubing to the top of the pump. Note: Running the plastic tubing under warm water will make
it easier to insert into the stem. Next, connect the opposite end into the top of the brass water nozzle on the upper
guide assembly (Fig.19). Plug pump's electrical connector into an outlet or power strip.
5) Fill the reservoir with approximately 2" of water (Approximately 3 quarts) before use.
6) To test pump, the saw must be turned on. Be sure the blade has been properly installed and there are no
obstructions that may interfere with its operation and blade movement. DO NOT attempt to touch the blade or
blade wheels while the machine is turned on.
7) Test pump and water fl ow by turning machine on at a slow speed. Water should begin to fl ow freely from the water
nozzle mounted on the upper blade guide assembly. If necessary, adjust position of nozzle so water fl ow is directed
at the front of the blade (See Fig.8).
8) If large pockets of air appear in the hose line, this may stop the fl ow of water to the blade. If this should occur,
turn the saw off. Remove the hose from the pump nozzle without removing the pump from the water and let the
hose drain. Reattach the hose and start the saw again. Small air bubbles may persist in the line, but these will not
interfere with suffi cient fl ow to the blade.
WARNING: Never operate saw if there is insuffi cient water at the point of cutting, as this will cause damage to the blade.
Fig.16
Fig.18
Fig.19
