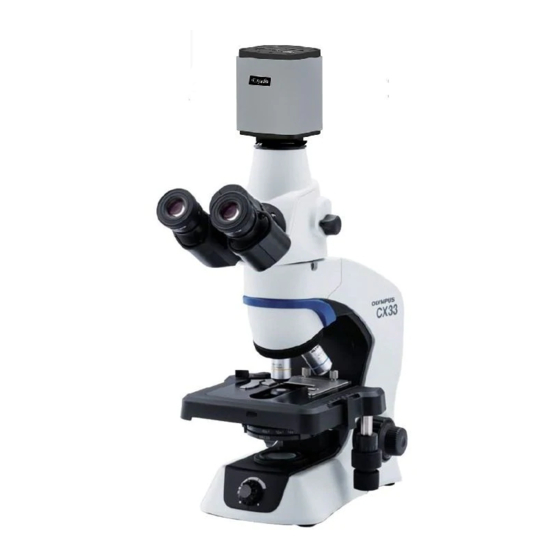
Olympus CX33 사용 설명서 - 페이지 34
{카테고리_이름} Olympus CX33에 대한 사용 설명서을 온라인으로 검색하거나 PDF를 다운로드하세요. Olympus CX33 40 페이지. Biological microscope

5
Attaching the specimen holder CX3-SHP or CX3-HLDT
A
b
B
b
6
Attaching the camera adapter U-TV1XC and the camera
When attaching the camera adapter, also refer to the instruction manual of the camera adapter in use.
TIP
Be sure to use the specified camera adapter and the camera. Using those not specified cannot
NOTE
ensure the stability of the microscope.
b
30
a
c
a
1
3
a
1
Rotate the coarse focusing knob to fully lower the stage.
Loosen the specimen holder fixing knob a (2 pcs.) of the stage
2
plate and remove the standard specimen holder by pulling it toward
front side.
You can also loosen the specimen holder fixing knob a by
TIP
inserting the coin into the groove of the specimen holder fixing
knob a and rotating it in counterclockwise direction.
3
When using the specimen hold plate CX3-SHP
Put the metal plate c over the resin sheet (one sheet only) b by
matching respective U-shape grooves, and engage U-shape grooves
to the screws a . (Picture A shown on the left)
Be sure to peel off the protection sticker attached to both
TIP
surfaces of the resin sheet b before use.
When using the specimen holder CX3-HLDT
Insert the U-shape groove of the specimen holder b in the specimen
holder fixing knob a . (Picture B shown on the left)
4
While pushing the specimen holder toward the back (arrow direction),
tighten the specimen holder fixing knob a (2 pcs.).
You can also tighten the specimen holder fixing knob a by
TIP
inserting the coin into the groove of the specimen holder fixing
knob a and rotating it in clockwise direction.
1
Attach the camera to the camera adapter.
2
Loosen the clamping screws a of the camera adapter of the trinocular
tube sufficiently using the provided allen wrench, and remove the
cap b .
3
Insert the camera adapter into the camera adapter attaching portion
of the trinocular tube.
4
Tighten the camera adapter clamping screws a completely.
