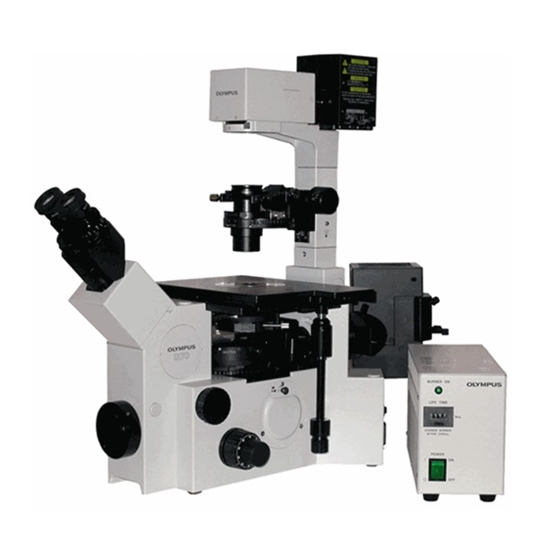
Olympus IX70 운영 매뉴얼 - 페이지 13
{카테고리_이름} Olympus IX70에 대한 운영 매뉴얼을 온라인으로 검색하거나 PDF를 다운로드하세요. Olympus IX70 32 페이지. Inverted fluorescent microscope
Olympus IX70에 대해서도 마찬가지입니다: 작동 지침 (5 페이지)

MetaMorph Screens
Save image
Close all
The MM window spans across both monitors, only the left window content is shown here. Please
note that you should NOT maximize the MM window since a program limitation will make it fill only one
monitor. By stretching the corner of the MM window, it should span both monitors. This allows you to
keep the (big) images on the right monitor while leaving menus on the left. You may want to hike the
bottom of the window up a bit so that the bottom row of the MM window is visible above the Windows
footer. The bottom row of the MM window has information about pixel size, XY location and pixel
intensity, memory use, etc. You can make the Windows footer auto-hide, if you prefer.
Major pulldown menus are located in the top bar and organized to task. A variety of toolbars
appear beside/below the main menu. You can move the toolbars along the top of the window by dragging
them around.
The Illum and Mag boxes show current settings (you can also change settings here).
Region Of Interest (AKA, "ROI") tools are available to limit operations to portions of images.
The default is to have the arrow selected (tool to pick and ROI activation/operation). The next 3 shapes
allow you to draw rectangular, circle/ellipse, or freehand selection AREAS. The next 3 line tools only
define line/line segment ROIs, NOT areas (even if they are drawn to enclose something). The penultimate
tool is an autotrace wand (works with thresholded images; not so good on regular images).
PDF Created with deskPDF PDF Writer - Trial :: http://www.docudesk.com
Fluorescence shutter
state/toggle on/off
Main (left) screen
13
