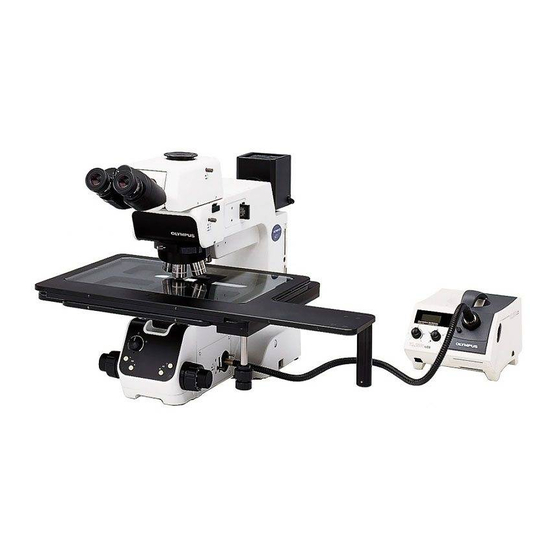
Olympus MX61L 조립 설명서 - 페이지 29
{카테고리_이름} Olympus MX61L에 대한 조립 설명서을 온라인으로 검색하거나 PDF를 다운로드하세요. Olympus MX61L 49 페이지. 200mm/300mm compatible semiconductor/fpd inspection microscopes

ƒ
Fig. 36
Precise Centering of the Mirror
}The position of the mirror has been adjusted and locked before shipment.
³
Only if you want more precise adjustment of the mirror position, proceed
to the following steps immediately after the procedure in the previous
paragraphs.
Note that, once the following steps are completed, it is no longer possible
to restore the mirror position in the factory shipped condition.
1. Using a pair of tweezers, etc., peel off the two blind stickers | on the rear
|
of the lamp housing.
2. Fit the Allen screwdriver into each of the screws hidden below the sticker
and loosen them. Loosening the two screws releases the locking of the
mirror.
3. Peel off other two blind stickers ƒ to expose the mirror centering holes.
4. Insert the Allen screwdriver into the screw in each mirror centering hole
and adjust the centering of the mirror arc image.
MX61/MX61L
26
