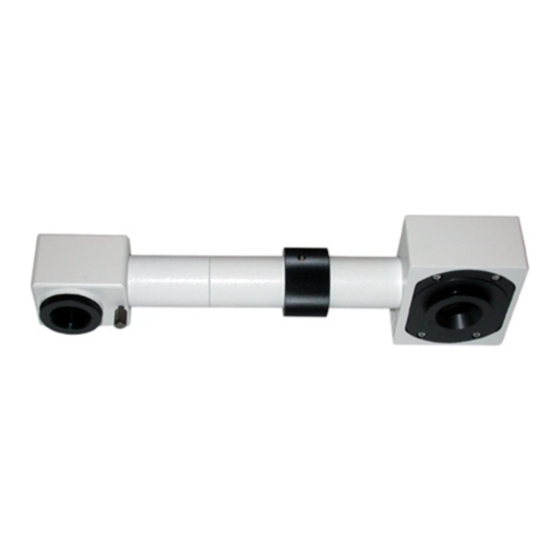
Olympus U-DA 사용 설명서 - 페이지 8
{카테고리_이름} Olympus U-DA에 대한 사용 설명서을 온라인으로 검색하거나 PDF를 다운로드하세요. Olympus U-DA 12 페이지. Drawing attachment

OPERATION
³
Fig. 4
3
1
2
@
²
3
4
5
6
Positioning the Drawing Paper
Place drawing paper horizontally on the desktop exactly below the mirror
in the mirror housing. The paper should be secured after alignment.
Adjusting the Mirror Housing
1. Loosen the mirror housing clamping knob @ and rotate the mirror hous-
ing until it is positioned perpendicularly to the drawing paper.
2. Clamp the mirror tube by tightening the clamping knob @.
Focusing on the Specimen
Operate the coarse and fine adjustment knobs on the microscope to
focus on the specimen.
Removing the Light Excluding Cap
When drawing, detach the light excluding cap ² from the mirror tube
bottom.
Focusing the Drawing Paper
Rotate the focusing collar ³ on the drawing attachment to focus on the
drawing paper.
Determining the Drawing Projection Magnification
1. Place an objective micrometer on the stage and a scale on the drawing
paper surface. While looking through the eyepiece, find the place where
the objective micrometer graduations and scale graduations match pre-
cisely.
Drawing projection magnification =
# Match the units.
2. When an objective micrometer is not available, place a scale on the draw-
ing paper as in step 1 and read the diameter of the drawing field.
Drawing projection magnification =
Drawing field diameter (mm)
Eyepiece field number
The specimen sketch drawn on the paper will conform to this magni-
fication.
}After using either of the methods described in steps 1 and 2 to find the
drawing projection magnification, it is recommended to draw a scale on
the drawing paper so that the specimen size can always be determined
with ease. If an objective micrometer is available, drawing its scale on the
paper will further simplify the procedure.
(Fig. 4)
(Fig. 4)
(Fig. 4)
Scale reading
Objective micrometer reading
x Objective magnification
