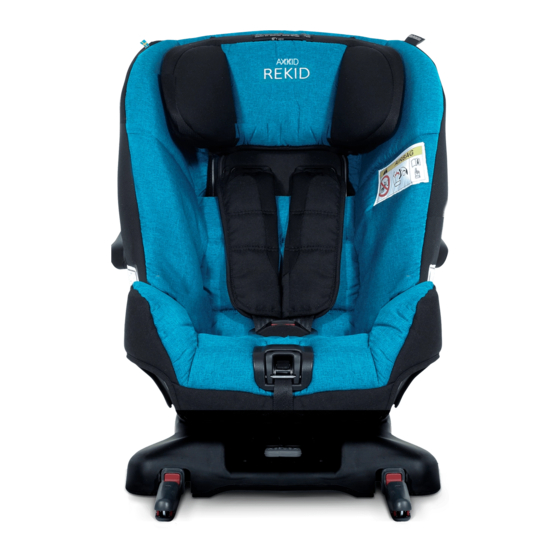
Axkid Rekid 사용 설명서 - 페이지 6
{카테고리_이름} Axkid Rekid에 대한 사용 설명서을 온라인으로 검색하거나 PDF를 다운로드하세요. Axkid Rekid 16 페이지.

6
Once there is an audible click and both
indicators (4) are green they are properly
secured. To remove the Rekid child re-
straint, hold both of the release buttons
(5).
To adjust the angle of the child restraint,
press the Recline Adjustment Lever (6)
to select one of the three reclining posi-
tions. Always choose the most upright
position as possible, however your child
must be able to hold their head up on
its own, and there should be enough re-
cline to ensure your child's head does not
fall forward when sleeping. The rule of
thumb is that the older the child grows,
the more upright the seat can be installed.
Please note that once the installation of
the Rekid is complete, it will be somewhat
more reclined as it sinks into the vehicle's
seat when tightening seat belts and tether
straps.
Attaching the lower tether straps
Some vehicles may already be fitted with
anchorage points at the base of the front
seat rails.
If your vehicle does not have these anchor
points, the supplied lower tether straps
must be used to create anchor points. For
tips on how to install these tether straps
please see the example on the next page.
The anchoring point needs to be as close
to the floor as possible. In doing so you
should always insert the buckle through
the closest appropriate slot in the strap
to create a slip knot and pull tight. This
Continued on next page
5
4
6
Lower tether straps
