cinetics AXIS360 빠른 시작 매뉴얼 - 페이지 17
{카테고리_이름} cinetics AXIS360에 대한 빠른 시작 매뉴얼을 온라인으로 검색하거나 PDF를 다운로드하세요. cinetics AXIS360 19 페이지.
7 | Quickstart Controller Settings
See it in video here:
https://vimeo.com/127733270
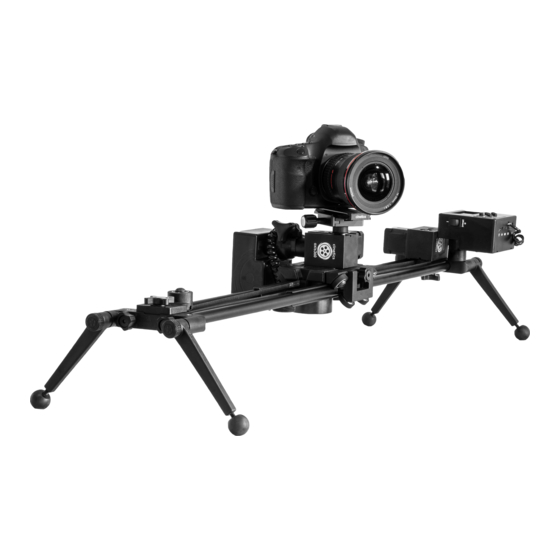
1 AXIS PAN/TILT/SLIDE TIMELAPSE
We recommended that you first read the CineMoco Instructional Manual for a more detailed breakdown
of the controller menu functions.
Menu Page Settings:
There are four sections of the menu: GEN (General), CON (Controller), MTR (Motor), CAM (Camera).
To scroll through each section just press the Menu button
When shooting a timelapse, make sure your camera is set to Manual Mode. Auto Focus is not recommend
as it will usally take too long to focus between shots.
Step 1: Plug your camera cable into the controller and camera
Step 2: Press menu button so GEN is selected
Step 3: Use the arrow keys to move up and down in the menu
Step 4: Highlight over Record and use the right arrow key to change the mode to Timelapse
Step 5: Move down to Setup and use the right arrow key to change the setup to Keyframes
Step 6: Leave Scrl Ramp at default
Step 7: Press MENU to move over to the MTR menu tab
Step 8: Select your Motor Type (Slider for Slide, Pan/Tilt for Pan or Tilt)
OPTIONAL: Select Speed to change the Motor speed, choose from Low, Medium, or High
Step 9: Press MENU to move over to CAM menu tab
Step 10: Highlight over Cam Type and press the right arrow to select your camera type
Step 11: Highlight over Fire Test Shot and hit the right arrow to take a picture and make sure your
camera is connected
Power Switch
Home/Play
Menu
Navagation
Arrows
16.