Axvue E610 사용 설명서 - 페이지 7
{카테고리_이름} Axvue E610에 대한 사용 설명서을 온라인으로 검색하거나 PDF를 다운로드하세요. Axvue E610 11 페이지.

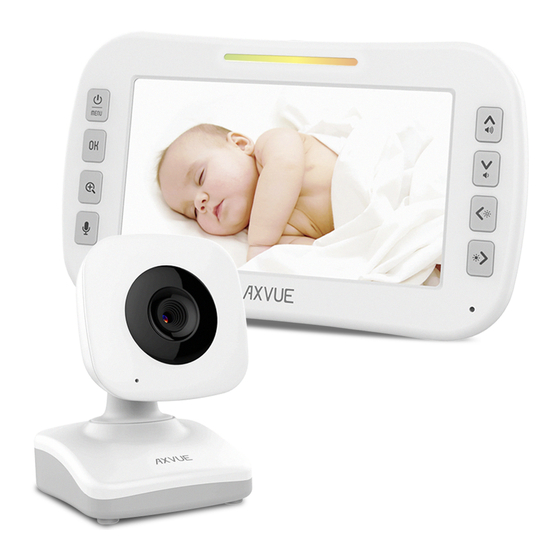
Monitor Use
Set the monitor complaints bedroom or living room a fixed position, the compact power adapter
plug to the monitor and the other end connected to a power outlet. Press the power / open key for
5 seconds until the green light on the full screen, see AXVUE interface and power display
completed open.
If you just listen to the sound, press the key to open the top of the video turns off the display
Such as the need to shut down the monitor, please press the screen until you see the progress bar
is red, it means that has been shut down
Monitor display of the portable use
Please charge the battery before use 4-5 hours
Please connect plug of the power adapter to charge the power plug
monitor and the other end connected to a power outlet
Monitor and Camera on the correspond
Step 1: Monitor and Camera in the same room, camera power after the power switch to the off
Step 2: Camera turn on switch 'Power/Menu' , appear three or four options, moving the arrow
choose a icon (Reference Picture 3) then press 'OK' add the new monitor (Reference Picture
4) Display icon '+', the option of adding a camera. After you press OK, the indicator light
flashes, then immediately operate the camera, push the power switch to 'ON, that is, to start
pairing. If it is not successful, please repeat steps 1 and 2.
Clear Monitor and Camera correspond
Step 1: At the same time turned.
Step 2: (Reference Picture 5) Switch on 'Power/Menu', appear three or four options, moving
the arrow choose a icon, then press 'OK' cancelled correspond. The icon from green to
gray, it means that has been "cleared"
Picture:3
Tips!: Monitor display low battery when charging, often repeated charge will result
in shorter battery life. The battery indicator light turns red, indicating low battery,
recharge as soon as possible. Do not use this product for a long time, remove the
battery when the battery fluid leakage, please remove the battery.Waste battery
classified lost to designated collection points (Note: use only the supplied power
adapter Model: P50750500)
Installation and Use 2
1
2
3
Picture:4
1
4
2
3
4
Picture:5
1
2
3
4
