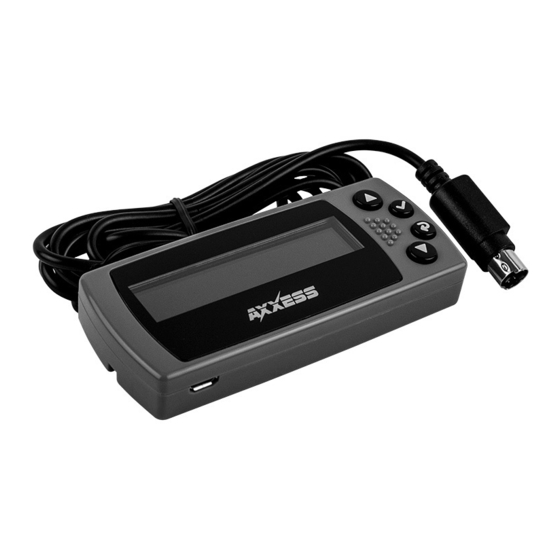
Axxess AX-LCD 설치 지침 - 페이지 3
{카테고리_이름} Axxess AX-LCD에 대한 설치 지침을 온라인으로 검색하거나 PDF를 다운로드하세요. Axxess AX-LCD 5 페이지. Lcd screen 2000-up
Axxess AX-LCD에 대해서도 마찬가지입니다: 설치 지침 매뉴얼 (16 페이지), 설치 지침 (4 페이지)

The AX-LCD allows the retention of the vehicles personalization menu that is lost after removing the factory radio.
The DIN harness with leads is only for the following vehicles:
• Connect the Black wire to ground.
• Connect the Red wire to accessory power.
For the Toyota Camry 2012-2014
The following connections are to be made to
the factory 28-pin connector behind the radio:
• Pink of the AX-LCD to pin-9
• Blue/Pink of the AX-LCD to pin-10
For the Mazda 6 2014-2015
The following connections are to be made to
the factory 24-pin connector behind the radio:
• Pink of the AX-LCD to pin-1L
• Blue/Pink of the AX-LCD to pin-1J
CONNECTIONS TO BE MADE
(For retaining and controlling the factory satellite radio while using an Axxess Interface)
• Connect the DIN cable from the LCD screen into the DIN connector on the Axxess interface.
CONNECTIONS TO BE MADE
(For retaining the personalization menu that is lost when removing the factory radio)
(this is the pin view of the factory harness)
(this is the wire view of the factory harness)
For the Fiat 500L 2014-up,
Ram 1500/2500/3500 (without 8.4" touchscreen radio),
Chassis Cab 3500/4500/5500 (without 8.4"
touchscreen radio) 2013-up,
The following connections are to be made to the factory 52-pin
connector behind the radio:
31
40
10
1
(this is the pin view of the factory harness)
• Blue/Pink of the AX-LCD to pin-12
• Pink of the AX-LCD to pin-2
49
52
44
41
3
