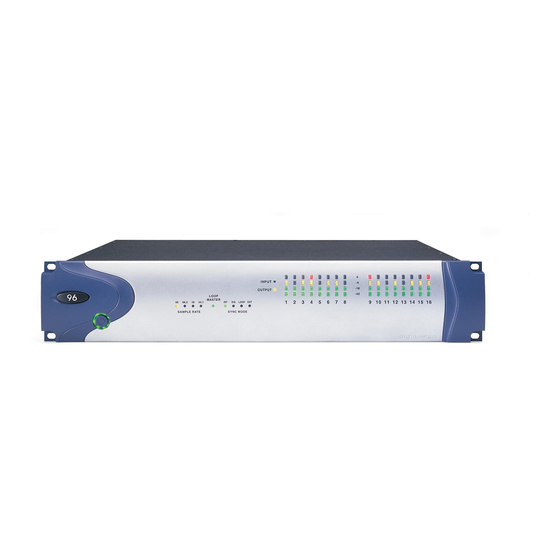
DigiDesign 96i I/O 매뉴얼 - 페이지 13
{카테고리_이름} DigiDesign 96i I/O에 대한 매뉴얼을 온라인으로 검색하거나 PDF를 다운로드하세요. DigiDesign 96i I/O 20 페이지. 16-input, 2-output digital audio interface features 24-bit analog-to-digital (a/d) and digital-to-analog (d/a) converters
DigiDesign 96i I/O에 대해서도 마찬가지입니다: 빠른 매뉴얼 (13 페이지), 매뉴얼 (16 페이지)

chapter 3
Installing and Configuring the 96i
This chapter provides basic instructions for in-
stalling a 96i I/O, and configuring its operating
levels.
See the Getting Started with HD Guide for
complete system installation and configu-
ration instructions.
If you are adding the 96i I/O to an existing
system, see the Expanded Systems Guide.
Installing the 96i
All installations require the following AC power
and DigiLink connections. Expanded systems
also require Loop Sync connections.
Before You Begin
Turn off your computer, hardware inter-
faces, monitoring system, hard drives, and
peripherals. Making connections while
power is on can damage your system.
Power
To connect AC power to the 96i:
Using the AC power cable included with the
unit, connect the 96i I/O to a standard AC
power receptacle. The 96i I/O is auto power-se-
lecting (100V to 240V) and will work automati-
cally when plugged into an AC power receptacle
in any country.
DigiLink Connections
DigiLink connections differ depending on
whether the 96i I/O is the primary audio inter-
face in the system, or if it is being added as an
expansion I/O to an existing HD system.
To connect the 96i I/O as the primary interface in
a Pro Tools|HD system:
Connect one end of the included DigiLink ca-
1
ble to the Primary Port on the 96i I/O.
Connect the other end of the DigiLink cable
2
to the DigiLink port on the HD Core card. (See
the Getting Started with HD Guide for complete
installation instructions.)
Chapter 3: Installing and Configuring the 96i
9
