Sharp XG-PH50X - XGA DLP Projector 설치 지침 매뉴얼 - 페이지 3
{카테고리_이름} Sharp XG-PH50X - XGA DLP Projector에 대한 설치 지침 매뉴얼을 온라인으로 검색하거나 PDF를 다운로드하세요. Sharp XG-PH50X - XGA DLP Projector 13 페이지. Xga native resolution system integration/large venue projector
Sharp XG-PH50X - XGA DLP Projector에 대해서도 마찬가지입니다: 설치 매뉴얼 (2 페이지), 운영 매뉴얼 (20 페이지), 사양 (2 페이지), 브로셔 및 사양 (4 페이지), 빠른 시작 참조 시트 (6 페이지)
INSTALLATION INSTRUCTIONS
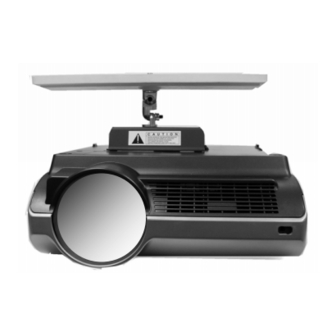
FIGURE 1. ILLUSTRATION OF PARTS FOR CEILING BRACKET
A.
F.
G.
INVERT THE PROJECTOR IMAGE
Please refer to the owners manual for your LCD Projector for detailed instructions of how to electrically
invert the projected image to accommodate its use in the ceiling mounted mode.
LOCATION OF THE CEILING BRACKET
Please refer to the owner's manual for your SHARP LCD PROJECTOR for information which will help you to
determine the best location for the placement of the ceiling mounting bracket assembly.
INSTALLATION OF THE CEILING BRACKET
After you have determined the appropriate location for the ceiling bracket, you must locate the exact
location of the ceiling beams. Most standard residential construction uses 16 inches between centers for
You can mount the ceiling bracket by straddling two beams, or you can install the
CAUTION: THE BRACKET MOUNTING SCREWS MUST GO DIRECTLY INTO THE BEAMS.
SHEETROCK, LATH AND PLASTER, WILL NOT PROVIDE A SUFFICIENTLY SECURE
SUPPORT.
STEP 1. INSTALLATION OF THE METAL CEILING BRACKET
After the location for the ceiling bracket has been determined, (see LCD PROJECTOR Owner's Manual), make
sure to locate beams in the ceiling.
C.
B.
H.
I.
PAGE 3
CEILING BRACKET AN-PHCM20
D.
E.
J.
bracket in line with a single beam.
overhead beams.