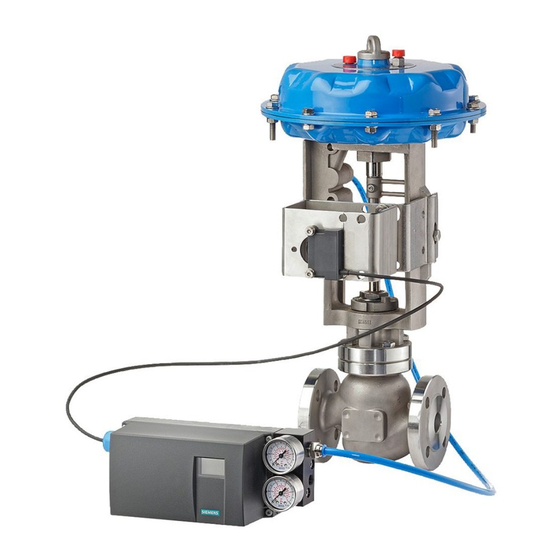
Siemens SIPART PS2 설치 지침 - 페이지 2
{카테고리_이름} Siemens SIPART PS2에 대한 설치 지침을 온라인으로 검색하거나 PDF를 다운로드하세요. Siemens SIPART PS2 4 페이지. Mounting bracket kit
Siemens SIPART PS2에 대해서도 마찬가지입니다: 설치 지침 (4 페이지), 사용 설명서 (28 페이지), 하드웨어 설치 매뉴얼 (30 페이지), 기술 설명 (26 페이지), 간결한 사용 설명서 (35 페이지), 키트 설치 지침 (9 페이지), 설치 지침 (11 페이지)

15900-745
1. Fasten the mounting bracket to the valve positioner using the supplied M6 screws and lockwashers. Mounting
bracket shape will vary with the design of the actuator.
2. Note the positioner model and input shaft style and perform either step 2a or 2b.
2a) PS2 or 760 with D-shaped input shaft (Figure 1, detail 1 or 2) – Install the valve positioner coupler. Use
the included setscrew and fasten the coupler to the positioner input shaft. Apply a thread locking solution
to the setscrew. Tighten the setscrew on the flat of the shaft.
2b) 760 with factory installed NAMUR input shaft (Figure 1, detail 3) – No additional positioner coupler is
needed.
3. Mount the positioner/bracket assembly on the actuator and connect the mechanical feedback components as
follows.
3a) Place the assembly on the actuator. Note how the mounting bracket will be attached to the actuator – either
with hardware included in the kit or with hardware already installed in the actuator. Note how the supplied
feedback components will install – either directly or with a "secondary" coupling.
3b) If actuator-to-mounting bracket hardware is not supplied, identify the actuator hardware that aligns with
the mounting bracket mounting holes and remove that hardware from the actuator.
3c) Install any provided spacers between the mounting bracket and the actuator. Do not attach the bracket to
the actuator yet.
3d) If supplied, install a "secondary" coupler on the actuator. See Figure 1 for examples of secondary couplers.
These couplers will usually mount on the actuator's valve position indicator or on the actuator shaft. The
"Secondary" coupler shape and manner of fastening will vary with the design of the actuator.
3e) Hold the positioner on the actuator and insert the positioner coupler into the slot in the actuator shaft, the
slot in the 6DR4004-8D feedback arm, or the slot in the secondary coupler.
For a Wheel and Feedback Arm coupler, insert the feedback arm into the slot in the
secondary coupler. Insert the pin near the perimeter of the wheel into the hole in the
feedback arm.
4. Important: Check that all couplers are fully inserted. If the NAMUR coupler includes an antibacklash spring,
the spring must be fully inserted for the antibacklash action to function.
Coupler engagement (in Figure 1, details 1 and 2) can be adjusted by loosening the
NAMUR coupler setscrew and repositioning the coupler on the positioner input shaft.
5. Use the mounting bracket hardware to attach the bracket to the actuator.
Note
Note
2
