Cisco 7942G - Unified IP Phone VoIP 매뉴얼 - 페이지 7

{카테고리_이름} Cisco 7942G - Unified IP Phone VoIP에 대한 매뉴얼을 온라인으로 검색하거나 PDF를 다운로드하세요. Cisco 7942G - Unified IP Phone VoIP 11 페이지. Unified communications manager 9.0 (sccp and sip)
Cisco 7942G - Unified IP Phone VoIP에 대해서도 마찬가지입니다: 사용자 설명서 (23 페이지), 데이터시트 (5 페이지), 설치 매뉴얼 (12 페이지), 사용자 설명서 (6 페이지), 사용자 설명서 (4 페이지), 관리 매뉴얼 (12 페이지), 사용자 설명서 (13 페이지), 사용자 설명서 (17 페이지), 사용자 설명서 (12 페이지), 사용자 설명서 (16 페이지), 사용자 설명서 (6 페이지), 관리 매뉴얼 (16 페이지), 문제 해결 및 유지 관리 (27 페이지)
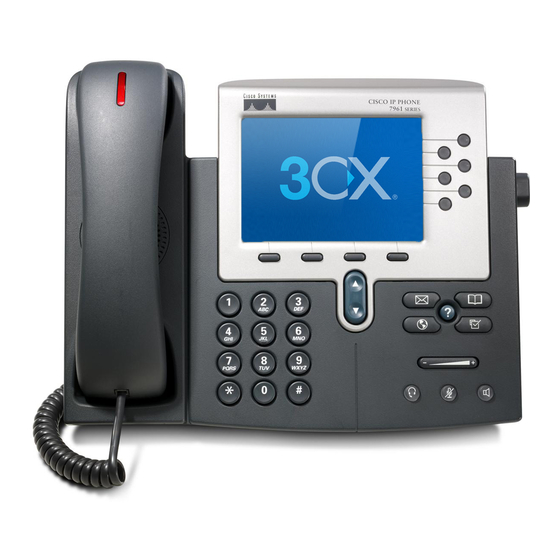
Cisco 7942G - Unified IP Phone VoIP 매뉴얼
Unlock configuration:
1. Press the "settings" button.
2. Use the "navigation" button and navigate down to "Unlock Config".
3. Press the "Select" button.
4. Enter password (Default factory password is "cisco").
5. Press the "Accept" button to unlock configuration.
SIP Configuration
1. Using the "navigation" button navigate up to "SIP Configuration".
2. Press the "Select" button.
3. Press the "Select" button to enter into "Line 1 Settings".
4. Enter details into:
REQUIRED FIELDS:
Name
Cisco 7942G extension number. Example: 1000.
Authentication Name
Usually the same number as "Name".
Authentication Password
The Secret of the extension as received in the e-mail associated with this extension. Example:
3dX3r5
Proxy Address
IP address of PBXware server. Example: 192.168.1.2
OPTIONAL FIELDS
Shortname
Example: John Smith, Reception, Entrance Main, Agent One etc.
Display Name
Example: John Smith, Reception, Entrance Main, Agent One etc.
Proxy Port
By default 5060
5. Press accept button and reboot Cisco 7942G.
- Conclusion: If everything is done as above described you should have successfully registered
*123
your Cisco 7942G to PBXware. Dial
to verify registration.
- For further information, please contact the manufacturer or check their web site