Cisco 7961 사용자 설명서 - 페이지 5

{카테고리_이름} Cisco 7961에 대한 사용자 설명서을 온라인으로 검색하거나 PDF를 다운로드하세요. Cisco 7961 6 페이지. Multi-line ip phones
Cisco 7961에 대해서도 마찬가지입니다: 사용자 설명서 (19 페이지), 사용자 설명서 (6 페이지), 사용자 설명서 (14 페이지), 사용자 설명서 (6 페이지), 빠른 시작 매뉴얼 (6 페이지), 사용자 설명서 (17 페이지), 빠른 참조 매뉴얼 (2 페이지), 빠른 참조 매뉴얼 (2 페이지), 빠른 시작 매뉴얼 (21 페이지), 사용자 설명서 (18 페이지), 사용자 설명서 (4 페이지), 빠른 참조 매뉴얼 (4 페이지), 설정 (11 페이지), 빠른 참조 매뉴얼 (1 페이지), 사용자 설명서 (2 페이지), 사용자 설명서 (2 페이지), 사용자 설명서 (2 페이지), 사용 설명서 (3 페이지), 편지 (2 페이지), 참조 매뉴얼 (3 페이지), 빠른 참조 사용 설명서 (2 페이지), 빠른 시작 매뉴얼 (2 페이지)
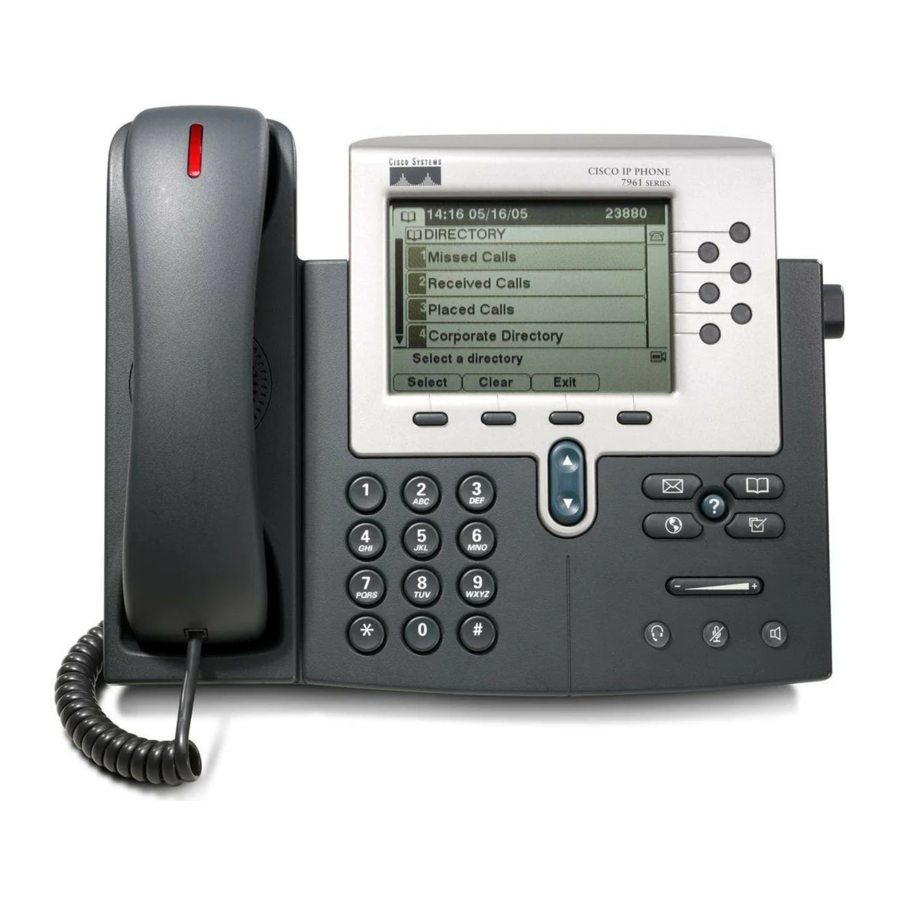
Cisco 7961 사용자 설명서

LAST NUMBER REDIAL

1.
Lift handset and press [Redial] softkey.

CALL FORWARD ALL

1.
Press the [CFwdALL] softkey. You hear two beeps, then dial tone.
2.
Enter the 5-digit extension number you wish to forward your calls to. A forwarded phone icon/arrow appears in the upper-
right corner of the LCD
3.
To forward calls directly to voice mail, press [CFwdAll] softkey, then the [Message] button.
4.
To cancel, press the [CFwdALL] softkey.
Note: You can only activate [CFwdALL] for the primary line of the phone.

USING CALL LOGS AND DIRECTORIES

(Call logs contain records of your missed, placed and received calls)
View your Call Logs:
1.
Press the
2.
Select Missed Calls, Received Calls or Placed Calls. Each stores up to 100 records.
Display Details for a single call record:
1.
Press the
2.
Select Missed Calls, Received Calls or Placed Calls.
3.
Highlight a call record.
4.
Press [Details]. Doing so displays information such as called number, calling number, time of day, and call duration (for
placed and received calls only.
Erase a single call record:
1.
Press the
2.
Select Missed Calls, Received Calls or Placed Calls.
3.
Highlight a call record.
4.
Press [Delete] softkey.
Erase all call records in a single log:
1.
Press the
2.
Select Missed Calls, Received Calls or Placed Calls.
3.
Highlight a call record.
4.
Press [Clear] softkey. (you may need to press the [More] softkey to display [Clear].)
Erase all call records in all logs:
1.
Press the

USING YOUR PERSONAL DIRECTORY

The Personal Directory feature set contains your Personal Address Book (PAB) and Fast Dials. This section describes how to use
Personal Directory on your phone.
Access Personal Directory (for PAB and Fast Dial codes)
1.
Choose > Personal Directory (exact name can vary).
2.
Enter your Cisco Unified Communications Manager user ID and PIN, then press [Submit]. (Note: PSW default: 123456)
Search for a PAB entry
1.
Access Personal Directory, then choose Personal Address Book.
2.
Enter search criteria and press [Submit].
3.
You can choose Previous or Next to move through listings.
4.
Highlight the PAB listing that you want and press [Select].
, indicating all calls forwarded.
(
directories) button.
(
directories) button.
(
directories) button.
(
directories) button.
(
directories) button, then press [Clear] softkey.
Pg. 5