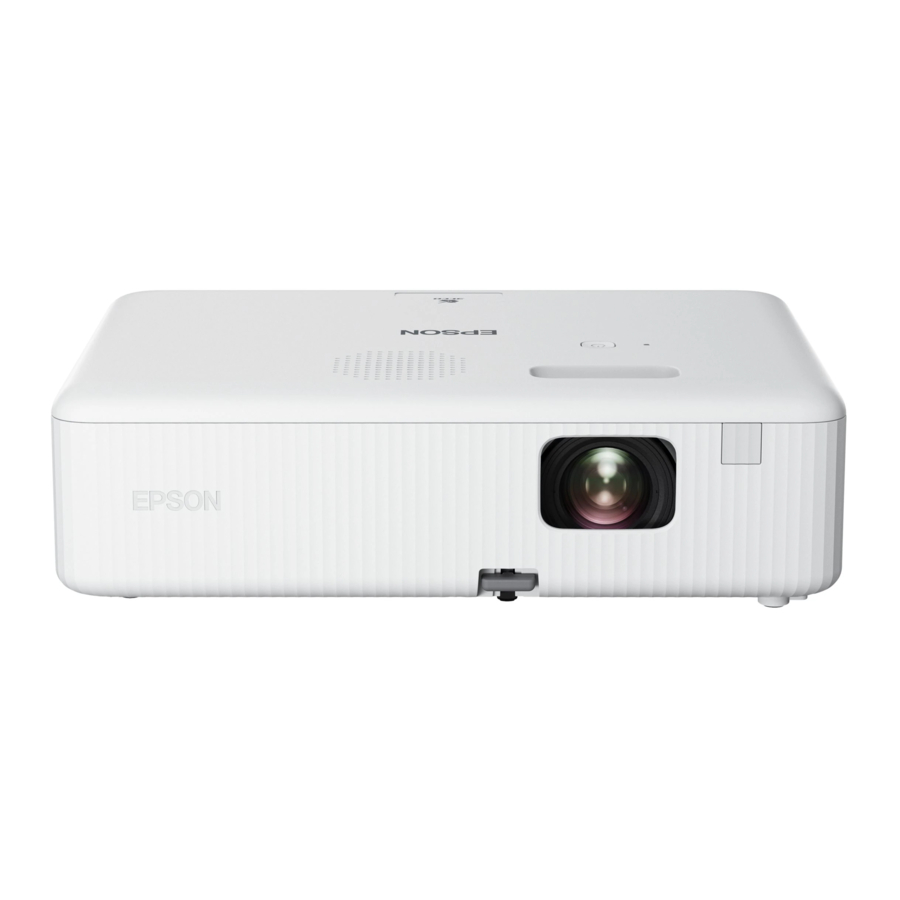
Epson CO-W01 빠른 설정
{카테고리_이름} Epson CO-W01에 대한 빠른 설정을 온라인으로 검색하거나 PDF를 다운로드하세요. Epson CO-W01 4 페이지.

CO-W01
Quick Setup
Before using the projector, make sure you read these instructions and the safety
instructions in the online User's Guide.
Contents
Make sure your projector box includes all of these parts:
You can place the projector on almost any flat surface or attach it to a tripod or
other hardware with an optional mount. See the online User's Guide for more
information.
Connect the projector
Video device or computer
You can connect video equipment or a computer. Connect one end of an HDMI
cable to the projector's HDMI port and the other end to an HDMI port on your
video device or computer. See the online User's Guide for details.
Caution: Do not turn on the video source before connecting it to the projector;
you may damage the projector.
USB device
You can connect a supported digital camera, USB flash drive, or USB storage
device to the projector's USB-A port, and then use the projector's PC Free
feature. See the online User's Guide for details.
Streaming media player
You can connect a streaming media player (not included) to your projector.
Turn on your equipment
1
Turn on your computer or video source.
2
Plug in the projector. The status light blinks, then remains lit for a few
seconds before turning off.
HDMI cable
USB cable
3
Insert the batteries into the remote control.
4
Press the
power button on the projector or the remote control. The
status light flashes blue and then stays on.
5
If you connected an active source, the projector displays the source.
Otherwise, the Home screen is displayed. If necessary, select the active
source to display the image. Press the
Home screen.
6
The default language of the menu system is English. To select another
language, press the
menu button on the remote control. Use the
directional pad and enter button to select Extended > Language, then
select your language. Press the
Note: To shut down the projector, press the
Adjust the image
1
Make sure the projector is turned on and displaying an image.
Note: If you still see a blank screen or have other display problems, see
the troubleshooting tips.
2
To reduce or enlarge the image, press the
control. Use the directional pad and enter button to select Settings >
Installation > Zoom. Press left or right on the directional pad to adjust
the image size. Press the
3
To adjust the image height, press and hold the foot release lever on the
bottom of the projector to extend the front adjustable foot. Release the
lever to lock the foot in the desired position.
4
Move the focus lever on top of the projector left or right to adjust the
image sharpness.
5
If your image looks like
or
off to one side of the screen at an angle. Place the projector directly in
front of the center of the screen, facing the screen squarely. If you can't
move the projector, use the
correct the image shape.
6
If your image looks like
remote control and adjust the V-Keystone setting to correct it.
Note: For more adjustment methods, see the online User's Guide.
home button to return to the
menu button to exit the menu system.
power button twice.
menu button on the remote
menu button to exit the menu system.
, you may have placed the projector
keystone button on the remote control to
or
, press the
keystone button on the
