Cisco Cisco 7960 사용자 설명서 - 페이지 18

{카테고리_이름} Cisco Cisco 7960에 대한 사용자 설명서을 온라인으로 검색하거나 PDF를 다운로드하세요. Cisco Cisco 7960 20 페이지. Ip phone & unity voicemail
Cisco Cisco 7960에 대해서도 마찬가지입니다: 사용자 설명서 (19 페이지), 사용자 설명서 (12 페이지), 맞춤형 사용자 설명서 (2 페이지), 매뉴얼 (35 페이지), 사용자 설명서 (15 페이지), 설치 및 구성 매뉴얼 (10 페이지), 사용자 설명서 (23 페이지), 사용자 설명서 (14 페이지), 참조 매뉴얼 (2 페이지), 빠른 참조 매뉴얼 (2 페이지), 사용자 설명서 (28 페이지), 사용자 설명서 (16 페이지), 빠른 사용 설명서 (2 페이지), 사용자 설명서 (9 페이지), 참조 매뉴얼 (4 페이지), 빠른 시작 매뉴얼 (12 페이지), 매뉴얼 (8 페이지), 빠른 참조 매뉴얼 (12 페이지), 사용자 설명서 (14 페이지), 빠른 참조 매뉴얼 (12 페이지), 관리자 매뉴얼 (10 페이지), 사용자 설명서 (6 페이지), 빠른 사용 설명서 (2 페이지), 참조 매뉴얼 (17 페이지), 빠른 매뉴얼 (2 페이지), 사용자 설명서 (3 페이지), 빠른 사용 설명서 (2 페이지), 빠른 설치 매뉴얼 (1 페이지), 매뉴얼 (21 페이지), 사용자 설명서 (3 페이지), 시작하기 (50 페이지), 빠른 시작 매뉴얼 (6 페이지), 빠른 시작 매뉴얼 (2 페이지), 빠른 참조 매뉴얼 (2 페이지), 빠른 시작 매뉴얼 (2 페이지), 시작하기 매뉴얼 (27 페이지), 참조 매뉴얼 (3 페이지), 사용자 설명서 (12 페이지), 사용자 설명서 (12 페이지)
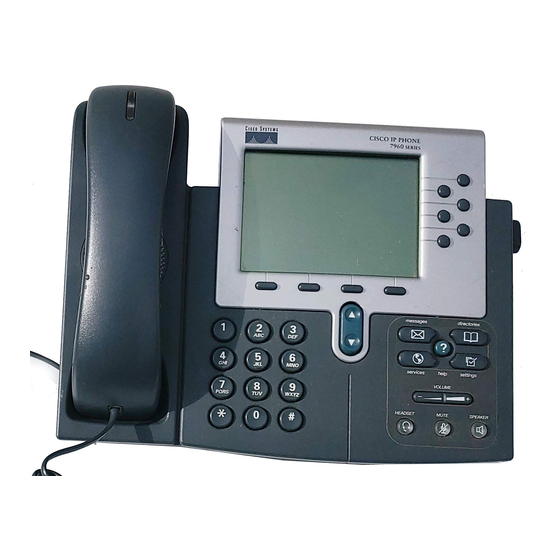
Cisco Cisco 7960 사용자 설명서

Configuring Auto Answer (Intercom)

You can configure your phone to automatically answer an incoming call to the speaker by using
the Auto Answer (Intercom) feature.
Perform the following steps to configure the Auto Answer (Intercom) feature.
Step 1:
Press the settings button.
Step 2:
Press the Scroll key to highlight Call Preferences.
Step 3:
Press the Select softkey.
Step 4:
Press the Scroll key to highlight Auto Answer (Intercom) from the Call Preferences
menu.
Step 5:
Press the Scroll key to highlight the line (Line 1 or Line 2) you want to configure for auto
answer.
Step 6:
To enable the Auto Answer (Intercom) feature for the selected line, press the Yes softkey.
To disable the feature for the selected line, press the No softkey.
Step 7:
Repeat Step 5 and Step 6 if you want to enable or disable this feature for the other line.
Step 8:
Press the Save softkey to save your selection of this feature and display the Settings
menu.
Step 9:
Press the Back softkey to display the main LCD screen.

Configuring Speed Dial Lines

You can configure your phone to automatically dial a number when you press a button by using
the Speed Dial Lines feature.
Perform the following steps to configure the Speed Dial Lines feature.
Step 1:
Press the settings button.
Step 2:
Press the Scroll key to highlight Call Preferences.
Step 3:
Press the Select softkey.
Step 4:
Press the Scroll key to highlight Speed Dial Lines from the Call Preferences menu.
Step 5:
Press the Select softkey.
Step 6:
Press the Scroll key to highlight Line 3, Line 4, Line 5, or Line 6.
Note:
There are four possible speed dial numbers that can be configured on the Cisco IP
7960G and one possible speed dial number on the Cisco IP 7940G.
Step 7:
Press the Edit softkey.
Hostcomm Hosted Telephony
18
Using the Cisco IP Phone 7940/7960
User Guide