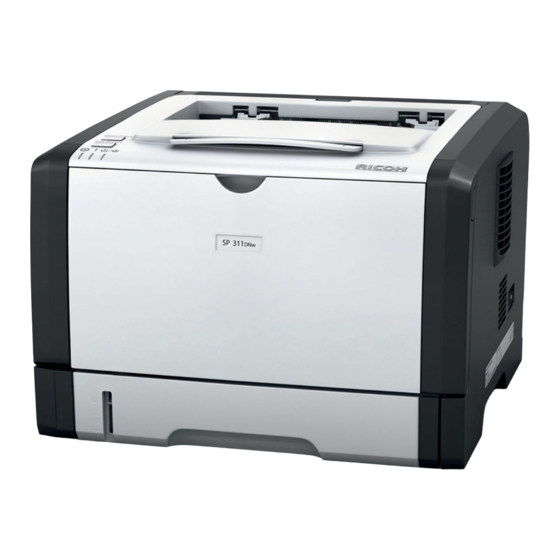
Ricoh SP 311SFNw 시작하기 매뉴얼 - 페이지 9
{카테고리_이름} Ricoh SP 311SFNw에 대한 시작하기 매뉴얼을 온라인으로 검색하거나 PDF를 다운로드하세요. Ricoh SP 311SFNw 47 페이지. Network settings guide
Ricoh SP 311SFNw에 대해서도 마찬가지입니다: 빠른 설치 매뉴얼 (2 페이지), 사양 (4 페이지), 사양 (4 페이지), 설치 매뉴얼 (2 페이지)

Connect Printer
STEP 2
This section explains how to connect the printer to your computer based on the
setup method you selected in
2.1 USB Connection
A
USB cable
directly connects the printer to your computer. Even if the computer that you are connecting
is networked, you can still connect the printer according to the procedures outlined below.
To make a USB connection, proceed as follows:
1. Turn printer power switch Off.
2. Insert USB cable (rectangular plug) firmly into computer's USB port.
3. Before inserting the USB cable (square plug) into the printer's USB port, install the
USB Printer/Scanner drivers. See
Note:
During software installation, you will be prompted to connect the USB cable (square plug) to your
•
printer, and turn the printer on.
2.2 Network Connection
Network connections include wired and wireless...
2.2.1 Wired (Ethernet) Connection
In a wired configuration, a network (Ethernet) cable connects the printer to your network hub (router)
or switch.
To make a wired connection, proceed as follows:
1. Confirm that printer's power switch is Off.
2. Plug network cable into printer's Ethernet port.
Important:
The printer cannot connect to a wired (Ethernet) network and wireless LAN network
•
simultaneously.
3. Turn printer power switch On.
4. Next, install the Network Printer/Scanner drivers. See
RICOH SP 311SFNw B&W Multifunction Laser Printer
1.2 Choose Setup
Method.
3.1 USB Quick
Install.
3.2 Network Quick
Getting Started Guide
Install.
9
