Cisco 7200 VXR Series 매뉴얼 - 페이지 2
{카테고리_이름} Cisco 7200 VXR Series에 대한 매뉴얼을 온라인으로 검색하거나 PDF를 다운로드하세요. Cisco 7200 VXR Series 14 페이지. Preparing for installation
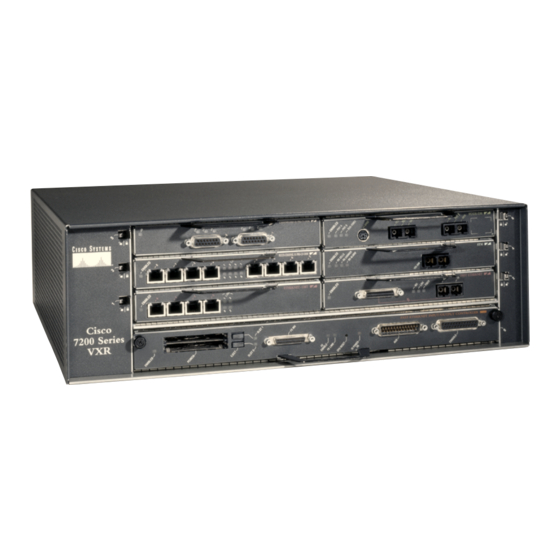
Cisco 7200 VXR Series에 대해서도 마찬가지입니다: 데이터시트 (12 페이지), 빠른 시작 매뉴얼 (48 페이지)
Electrical Equipment Guidelines
•
•
•
•
•
In addition, you might need the following external equipment:
•
•
•
•
•
•
•
Electrical Equipment Guidelines
The port adapters and power supplies are designed to be removed and replaced while the system is
operating without presenting an electrical hazard or damage to the system. However, you must power
down the system before removing or replacing the I/O controller, Port Adapter Jacket Card, and network
services engine (NSE) or network processing engine (NPE).
Always tighten the captive installation screws on the network processing engine or network services
Caution
engine and I/O controller. These screws prevent accidental removal, provide proper grounding for the
system, and help ensure that the bus connectors are properly seated in the midplane.
Preventing Electrostatic Discharge Damage
Electrostatic discharge (ESD) damage, which occurs when electronic cards or components are
improperly handled, can result in complete or intermittent system failures. The network processing
engine or network services engine, I/O controller, and each port adapter consists of a printed circuit
board that is fixed in a metal carrier. Electromagnetic interference (EMI) shielding, connectors, and a
handle are integral components of the carrier. Although the carrier helps protect the boards, use an
antistatic strap whenever handling the network processing engine or network services engine, I/O
controller, and port adapters. Handle the carriers by the handle and the carrier edges only; never touch
the boards or connector pins.
Cisco 7200 VXR Installation and Configuration Guide
2-2
Four M4 x 8-mm Phillips flathead screws to secure the rack-mount brackets to the chassis
Six 10-32 x 3/8-inch slotted binderhead screws to secure the rack-mount brackets to the rack rails
Two cable-management brackets to relieve the strain on installed port adapter interface cables
Four M4 x 8-mm Phillips flathead screws to secure the cable-management brackets to the chassis or
the rack-mount brackets
Two cable-management brackets for the NPE-G1 or NPE-G2
One optical cable-management bracket for the NPE-G1 or NPE-G2
One RJ-45 cable to connect to the Fast Ethernet Management Port on the NPE-G2
Data service unit (DSU) to connect each serial port to an external network
One serial port adapter cable for each serial port to connect the port with the remote device or
network
T1 channel service unit/data service unit (CSU/DSU) that converts the High-Level Data Link
Control (HDLC) synchronous serial data stream into a T1 data stream with the correct framing and
ones density to connect a serial port to a T1 network. (Some telephone systems require a minimum
number of 1 bits per time unit in a data stream, called ones density.) Several T1 CSU/DSU devices
are available as additional equipment, and most provide either a V.35, EIA/TIA-449, or EIA-530
electrical interface.
Ethernet transceiver
Token Ring multistation access unit (MSAU)
Chapter 2
Preparing for Installation
OL-5013-09