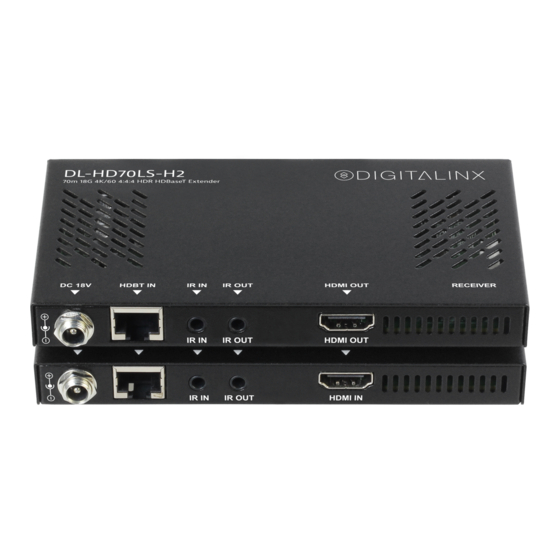
DigitaLinx DL-HD70LS-H2 빠른 설치 매뉴얼 - 페이지 5
{카테고리_이름} DigitaLinx DL-HD70LS-H2에 대한 빠른 설치 매뉴얼을 온라인으로 검색하거나 PDF를 다운로드하세요. DigitaLinx DL-HD70LS-H2 8 페이지.

1. Verify all components included with the extender set are present before installation.
2. If the extenders are going to be permanently mounted to a surface, attach the included mounting
brackets with the supplied screws.
3. Turn off power and disconnect the audio/video equipment by following the manufacturer's
instructions.
4. Connect Category 6 or greater twisted pair cable with RJ45 connectors between the DL-HD70LS-H2
transmitter and the receiver. TIA/EIA-568B straight-through wiring connections must be used with all
HDBaseT extenders.
5. Connect an HDMI cable and any desired IR control accessories between the display and the
DL-HD70LS-H2 receiver.
6. Connect an HDMI cable and any desired IR control accessories between the source and the
DL-HD70LS-H2 transmitter.
7. Connect the included power supply to the DL-HD70LS-H2 transmitter or receiver and lock the
power supply to the power connector by twisting the locking collar clockwise.
8. Power on attached audio/video devices.
Passing IR Signals:
The DL-HD70LS -H2 is capable of passing IR signals between 30 and 50 KHz. To prevent
damage to any of the electronics, the extenders should be powered off while inserting
or removing any IR components. Inserting an IR transmitter into the IR IN port may
damage the IR circuit for that extender.
IR OUT: The IR transmitter (IR emitter) must be plugged into the IR OUT port.
IR IN: The IR receiver (IR eye) must be plugged into the IR IN port.
To pass 3rd party IR system signals through the DL-HD70LS-H2, such as a control sys-
tem, connect the TS connector of the IR-AC coupling cable (provided) to the IR output
port of the control system and connect the TRS connector of the IR-AC cable to the IR
IN to either transmitter or receiver of the DL-HD70LS-H2
Connectivity Instructions
DL-HD70LS-H2 Quick Guide
5
