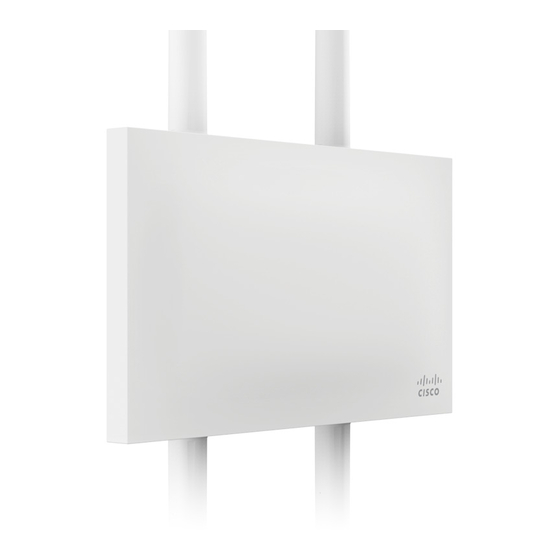
Cisco MERAKI MR72 하드웨어 설치 매뉴얼 - 페이지 6
{카테고리_이름} Cisco MERAKI MR72에 대한 하드웨어 설치 매뉴얼을 온라인으로 검색하거나 PDF를 다운로드하세요. Cisco MERAKI MR72 16 페이지.
Cisco MERAKI MR72에 대해서도 마찬가지입니다: 설치 매뉴얼 (20 페이지)

2.
Find the network to which you plan to add your nodes or create a
new network.
3.
Add your nodes to your network. You will need your Meraki order
number (found on your invoice if you ordered directly from
Meraki) or the serial number of each node, which looks like
Qxxx-xxxx-xxxx, and is found on the bottom of the unit.
4.
Finally, go to the map / floor plan view and place each node on
the map by clicking and dragging it to the location where you
plan to mount it. You can always modify the location later.
3.2 Check and Upgrade Firmware
To ensure your MR72 performs optimally immediately following
installation, Meraki recommends that you facilitate a firmware upgrade
prior to mounting your MR72.
1.
Attach your MR72 to power and a wired Internet connection.
2.
The MR72 will turn on and the LED will glow solid orange. If the
unit does not require a firmware upgrade, the LED will turn solid
white within 30 seconds.
* If the unit requires an upgrade, the LED will cycle rainbow until the
upgrade is complete, at which point the Power LED will turn solid
white. You should allow about an hour for the firmware upgrade to
complete, depending on the speed of your internet connection.
3.3 Check and Configure Firewall Settings
If your network will be located behind a firewall, it must allow outgoing
connections on particular ports to particular IP addresses in order for
