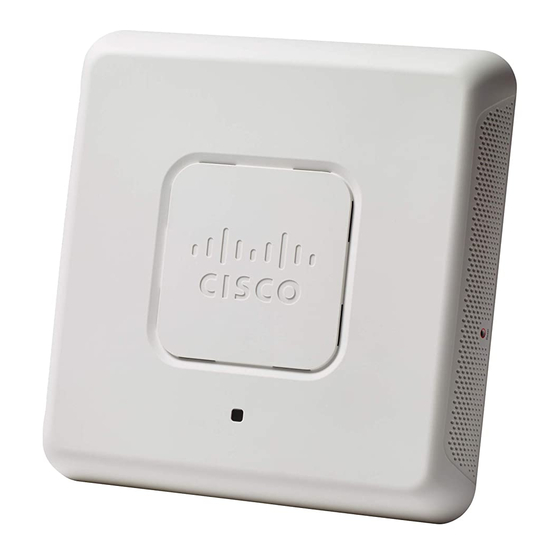
Cisco WAP571 빠른 시작 매뉴얼 - 페이지 11
{카테고리_이름} Cisco WAP571에 대한 빠른 시작 매뉴얼을 온라인으로 검색하거나 PDF를 다운로드하세요. Cisco WAP571 15 페이지. Manually connect access points to the network via power over ethernet (poe)
Cisco WAP571에 대해서도 마찬가지입니다: 매뉴얼 (4 페이지), 빠른 시작 매뉴얼 (6 페이지)

Bad Image
After a new firmware installation, if the Power light is solid red, contact
system support; see
turns on., page
Incorrect IP Address
The most likely cause of connectivity failure is an incorrect IP address. The
Web browser may be pointing to the wrong IP address, or your computer
may be configured with an IP address that is not in the same subnet as the
device.
Because the factory default IP address configuration is DHCP, make sure
that your DHCP server is running and can be reached. You may need to
disconnect and reconnect the devices for them to discover their new IP
addresses from the DHCP server. You can then query the DHCP server for
the new IP address. See
Configuration, page 7
address.
If the wireless access points do not receive a DHCP response (there is no
DHCP server on your network) after 60 seconds, the access points will
fallback to the following default static IP address: 192.168.1.245 and a
default mask of 255.255.255.0. To reach that IP address, be sure that your
computer is on the 192.168.1.xxx network.
Rebooting the Devices or Returning them
8
to their Factory Default Settings
To reboot your device:
• The Cisco WAP571 uses PoE power supply; unplug your Ethernet
connection and plug it back in.
or
• With the power on, press the Reset button with an opened paper clip
for less than three seconds, or until the lights go off.
–
When all the lights go off, release the Reset button.
–
Release the Reset button as soon as the lights go off, or you will
restore the device to factory default settings and lose your
configurations.
Cisco WAP571 Wireless Access Point
Release the Reset button when the system light
11.
Step 2
for more information on how to find the DHCP
of
Getting Started with the
10
