Cisco 7841 사용자 참조 설명서 - 페이지 4

{카테고리_이름} Cisco 7841에 대한 사용자 참조 설명서을 온라인으로 검색하거나 PDF를 다운로드하세요. Cisco 7841 5 페이지. Classroom phone
Cisco 7841에 대해서도 마찬가지입니다: 릴리스 정보 (16 페이지), 빠른 시작 매뉴얼 (2 페이지), 빠른 참조 매뉴얼 (4 페이지), 빠른 참조 (4 페이지), 빠른 설치 및 사용자 설명서 (12 페이지), 참조 매뉴얼 (11 페이지), 빠른 참조 매뉴얼 (7 페이지), 빠른 참조 매뉴얼 (7 페이지), 사용자 설명서 (2 페이지), 빠른 참조 매뉴얼 (2 페이지), 빠른 참조 매뉴얼 (2 페이지), 매뉴얼 (2 페이지), 매뉴얼 (27 페이지), 펌웨어 마이그레이션 마스터 매뉴얼 (31 페이지), 매뉴얼 (43 페이지), 빠른 참조 매뉴얼 (4 페이지), 빠른 시작 매뉴얼 (2 페이지), 설치 매뉴얼 (39 페이지), 사용 (4 페이지), 빠른 사용 설명서 (2 페이지), 매뉴얼 (7 페이지), 매뉴얼 (20 페이지), 기능 설명서 (4 페이지), 재구성 매뉴얼 (2 페이지), 빠른 참조 카드 (2 페이지), 빠른 설치 매뉴얼 (12 페이지), 빠른 시작 매뉴얼 (2 페이지), 빠른 매뉴얼 (3 페이지), 빠른 참조 카드 (2 페이지), 빠른 참조 카드 (2 페이지), 빠른 시작 매뉴얼 (2 페이지), 빠른 참조 매뉴얼 (3 페이지)
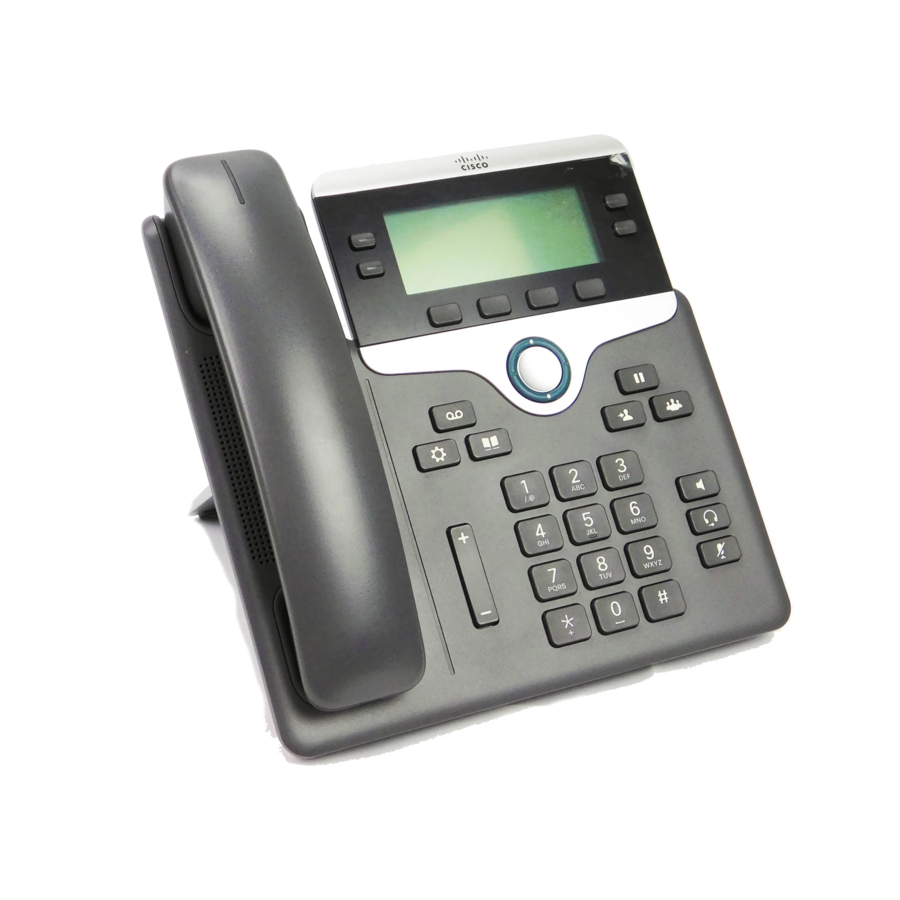
Cisco 7841 사용자 참조 설명서
To Park a call:
 During an active call, press the More soft key until you see the Park soft key.
 Press Park. The LCD screen displays the special call park number at which the
call is stored.
 Make a note of the call park number, then hang up. The call is parked at that
number, allowing you to retrieve it from another phone.
 To retrieve the parked call from any phone in the Cisco CallManager system, dial
the call park number at which the call is parked.
Call Pickup:
 Press the PickUp soft key. The call now rings on your phone.
 Select the Number to answer then press Answer and the call will go to your
phone
Forwarding Calls:
 Press the CFwdAll soft key. You should hear two beeps.
 Enter the number to which you want to forward all of your calls, exactly as you
would if you were placing a call to that number. (After you enter the number, an
animated phone icon with a flashing right arrow appears in the upper-right corner
of the LCD screen. The LCD screen also displays a message confirming the
number or extension to which your calls are being forwarded).
To cancel call forwarding, press the CFwdAll soft key.
Placing a Conference Call:
 During a call, press the More soft key and then the Confrn soft key. Doing so
automatically activates a new line and puts the first party on hold.
 Place a call to another number or extension.
 When the call connects, press Confrn again to add the new party to the
conference call.
 Repeat these steps to add parties to the conference call.
To Access Voice Mail internally:
 To set up and access voice mail, first press your line button
 Then press the Messages button on your Cisco IP Phone (teachers should then
press the * key) and follow the voice instructions.
 The default PIN is 12345.
 Remember there is a difference between your voicemail ID and your PIN.
 The first time you access your voice mail you will be walked through setting
up your voice mail.
To Access Voice Mail externally:
 Call Your Buildings Main Number and Press *
 Enter your ID (Your 4 digit extension or assigned voicemail extension).
 Enter your PIN.