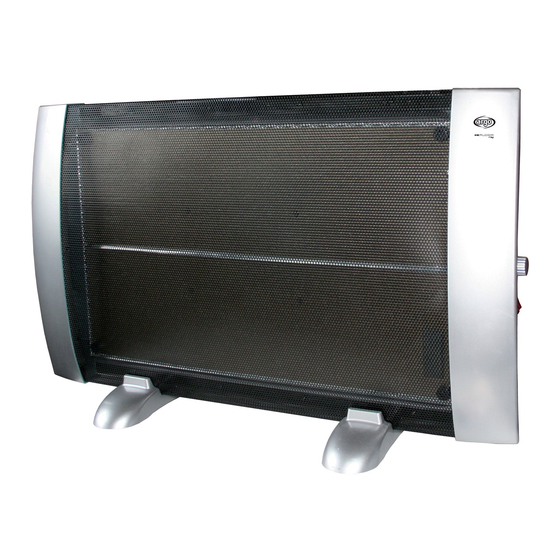
Argo HI FLOOR RAY 사용 설명서 - 페이지 7
{카테고리_이름} Argo HI FLOOR RAY에 대한 사용 설명서을 온라인으로 검색하거나 PDF를 다운로드하세요. Argo HI FLOOR RAY 9 페이지. Micathermic panel heater

B.
Wall-mounting: how to assemble the panel brackets and mount it to the wall
The panel packaging contains all the accessories necessary for wall-mounting.
To wall-mount, proceed as follows:
1. Mark out on the wall the points to be drilled for Fischer rawlplug insertion. The holes must be 332 mm apart, as
shown in the figure.
2. Drill the holes in the wall
rawlplugs must be placed
Screw
up
the
3. Fit the wall-mounting brackets to the back of the panel using the screws supplied.
4. Mount the panel by inserting the screws fixed to the wall into the rear brackets. Lower the panel to allow it to fit
perfectly into a straight, stable position. The lower bracket serves as further support only.
It is important that the panel is assembled straight.
Choose a suitable place to position the panel heater, considering the general safety warnings given in the first part of this
manual. Only use this panel in an upright position.
Insert the plug into the electrical socket, ensuring that voltage is compliant with that specified on the panel data plate
V 09/16
332 mm
Min. 500 mm
screws
APPLICATION USING THE REAR
SUPPORTS, SEEN FROM ABOVE
HOW TO USE THE PANEL HEATER
and insert the Fischer rawlplugs. The Fischer
at a height of at least 500 mm from the ground.
supplied into the rawlplugs.
INSTALLATION COMPLETE
16
