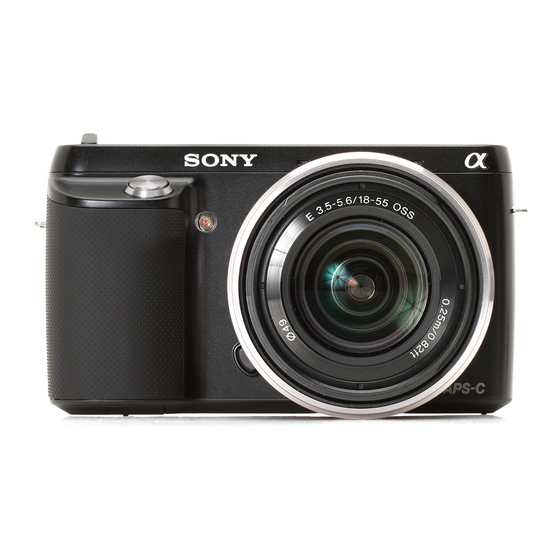
Sony NEX-F3K 서비스 매뉴얼 - 페이지 14
{카테고리_이름} Sony NEX-F3K에 대한 서비스 매뉴얼을 온라인으로 검색하거나 PDF를 다운로드하세요. Sony NEX-F3K 19 페이지. Interchangeable lens digital camera
Sony NEX-F3K에 대해서도 마찬가지입니다: 사양 (35 페이지), 제한 보증 (1 페이지), 사용 시 참고 사항 (2 페이지), 서비스 매뉴얼 (42 페이지)

2-1-6. IMAGER UNIT SECTION
ns: not supplied
253
252
(Note)
251
Ref. No.
Part No.
Description
251
4-259-691-01
IM PLATE (755), GLASS RETAINER
252
A-1817-089-A
IM IR GLASS ASSY (755) (Note)
253
4-259-692-01
IM PLATE (755), SPACE
254
4-277-280-01
IM RUBBER (754), SEAL
NEX-F3D/F3K/F3Y_L2
(All mounted parts and IS-101 complete board are not supplied,
but they are included in CAB F B-Assy (Service))
#191
ns
254
Ref. No.
Part No.
Description
#191
4-188-735-01
SCREW (M1.7)
Screw
#191: M1.7 X 3.5 (Tapping)
(Black)
4-188-735-01
1.7
3.5
Note
Note:
Refer to the following when assembling the IM IR Glass
Assy (755) and the Imager.
#191
Attach the IM IR Glass Assy (755), Space IM Plate (755),
(1)
Glass Retainer IM Plate (755), and Seal IM Rubber (754)
to the Imager IM Plate (755).
(2) Set the parts assembled in step (1) and the Imager onto
the optical filter block attachment jig (J-6082-737-A) while
aligning them with two pins.
(3) Secure the Imager with four screws.
Pin
Parts assembled
in step (1)
Optical filter block attachment jig
J-6082-737-A
2-8
Note:
IM IR ガラスASSYとイメージャを組み立てる際は、
下記を参照してください。
(1) IM イメージャ台板(755)に、IM IR ガラスASSY (755)、
IM 間隔板(755)、IM IR ガラスASSY(755)、
IMシールラバー (754)を取り付ける。
Seal IM Rubber (754)
Imager IM Plate (755)
Space IM Plate (755)
IM IR Glass Assy (755)
Glass Retainer IM Plate (755)
(2) ピン2箇所で位置を合わせて、(1)で取り付けた部品とイメージャ
を、光学フィルタブロック貼り付け治具(J‑6082‑737‑A)にセット
する。
(3) ねじ4本でイメージャを固定する。
Imager
ピン
Pin
(1)で取り付けた部品
光学フィルタブロック貼り付け治具
J-6082-737-A
IM シールラバー (754)
IM イメージャ台板 (755)
IM 間隔板 (755)
IM IR ガラスASSY (755)
IM ガラス押さえ板 (755)
イメージャ
ピン
