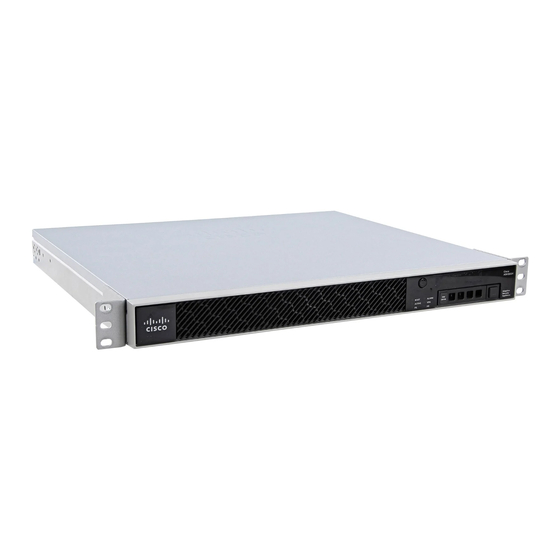
Cisco ASA 5506-X 하드웨어 설치 매뉴얼 - 페이지 22
{카테고리_이름} Cisco ASA 5506-X에 대한 하드웨어 설치 매뉴얼을 온라인으로 검색하거나 PDF를 다운로드하세요. Cisco ASA 5506-X 26 페이지. Threat defense reimage guide
Cisco ASA 5506-X에 대해서도 마찬가지입니다: 빠른 시작 매뉴얼 (10 페이지), 빠른 시작 매뉴얼 (14 페이지), 간편한 설정 매뉴얼 (11 페이지), 소프트웨어 설명서 (37 페이지), 마운트 및 연결 (12 페이지), 설치 매뉴얼 (46 페이지), 섀시 마운트 (10 페이지)

Connect Cables, Turn on Power, and Verify Connectivity
Connect Cables, Turn on Power, and Verify Connectivity
After positioning or mounting the ASA, follow these steps to connect cables, turn on power, and verify
connectivity:
Step 1
Connect the network cables:
a) Management interface – Using this Management 1/1 Gigabit Ethernet port, you can connect a management computer
directly with an Ethernet cable, or you can connect the computer and the ASA to the same management network. Be
sure the PC is configured to obtain an IP address using DHCP.
You can configure any of the Gigabit Ethernet interfaces to be a management-only interface using the
management-only command. However, you cannot disable management-only mode on the Management 1/1 interface.
The following figure shows how to connect the network cables.
1
3
b) (Optional) Console port – For use with the CLI. Connect a computer or terminal server using a serial console cable
to either the RJ-45 or Mini USB Type B port.
Only one console port can be active at a time. When a cable is plugged into the USB console port, the RJ-45 port
becomes inactive. Conversely, when the USB cable is removed from the Mini USB Type B port, the RJ-45 port
Cisco ASA 5506-X Hardware Installation Guide
18
Gigabit Ethernet data interface (RJ-45)
Management 1/1 interface (RJ-45)
2
Console port (RJ-45 or Mini USB Type B)
Mount and Connect the ASA
Online Only
