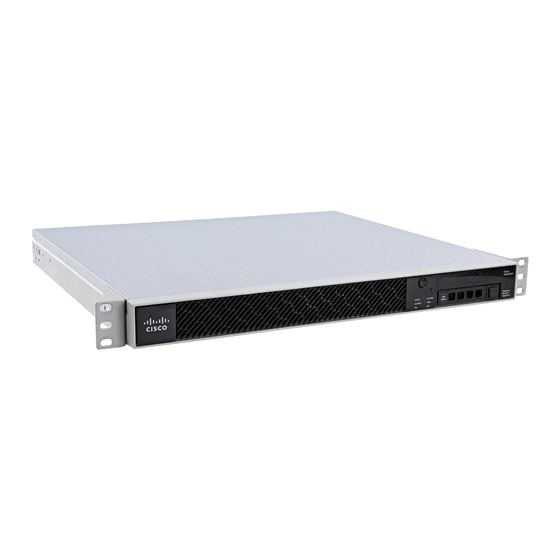
Cisco ASA 5506W-X 빠른 시작 매뉴얼 - 페이지 6
{카테고리_이름} Cisco ASA 5506W-X에 대한 빠른 시작 매뉴얼을 온라인으로 검색하거나 PDF를 다운로드하세요. Cisco ASA 5506W-X 10 페이지. Threat defense reimage guide
Cisco ASA 5506W-X에 대해서도 마찬가지입니다: 구성 매뉴얼 (13 페이지), 빠른 시작 매뉴얼 (14 페이지), 간편한 설정 매뉴얼 (11 페이지), 소프트웨어 설명서 (37 페이지), 마운트 및 연결 (12 페이지), 설치 매뉴얼 (46 페이지), 섀시 마운트 (10 페이지)

Cisco ASA 5506-X Series Quick Start Guide
3.
Click one of the available options: Install ASDM Launcher, Run ASDM, or Run Startup Wizard.
4.
Follow the onscreen instructions to launch ASDM according to the option you chose. The Cisco ASDM-IDM
Launcher appears.
If you click Install ASDM Launcher, in some cases you need to install an identity certificate for the ASA and a
separate certificate for the ASA Firepower module according to
5.
Leave the username and password fields empty, and click OK. The main ASDM window appears.
6.
If you are prompted to provide the IP address of the installed ASA Firepower module, cancel out of the dialog
box. You must first set the module IP address to the correct IP address using the Startup Wizard.
ASDM can change the ASA Firepower module IP address settings over the ASA backplane; but for ASDM to
then manage the module, ASDM must be able to reach the module (and its new IP address) on the
Management 1/1 interface over the network. The recommended deployment allows this access because the
module IP address is on the inside network. If ASDM cannot reach the module on the network after you set
the IP address, then you will see an error.
7.
Choose Wizards > Startup Wizard.
8.
Configure additional ASA settings as desired, or skip screens until you reach the ASA Firepower Basic
Configuration screen.
Install an Identity Certificate for
6
6. Launch ASDM
ASDM.
