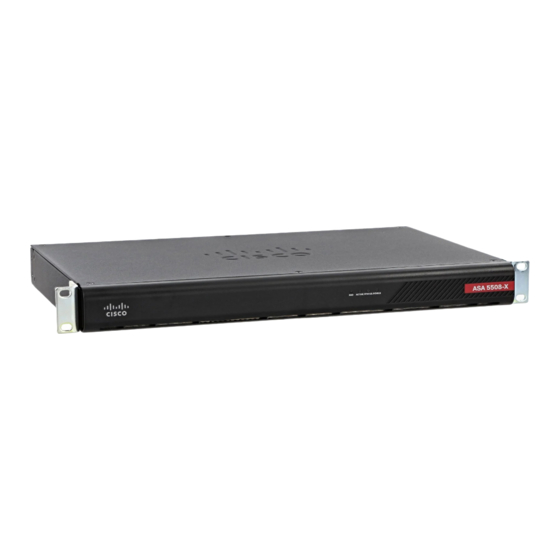
Cisco ASA 5508-X 마운트 및 연결
{카테고리_이름} Cisco ASA 5508-X에 대한 마운트 및 연결을 온라인으로 검색하거나 PDF를 다운로드하세요. Cisco ASA 5508-X 6 페이지. Threat defense reimage guide
Cisco ASA 5508-X에 대해서도 마찬가지입니다: 하드웨어 설치 매뉴얼 (32 페이지), 빠른 시작 매뉴얼 (8 페이지), 간편한 설정 매뉴얼 (11 페이지), 빠른 시작 매뉴얼 (9 페이지), 소프트웨어 설명서 (37 페이지), 매뉴얼 (14 페이지)

Mount and Connect
This chapter describes how to rack-mount the ASA, and how to connect the cords and cables. It contains the
following sections
•
•
•
Rack-mount the ASA
The ASA ships with rack-mount brackets or "ears," which you can install on the front or the rear of the chassis.
Follow these steps to install your ASA in a rack.
Step 1
Attach both brackets to the sides of the ASA chassis, either to the front or rear.
After the brackets are secured to the chassis, you can mount it in the rack.
Step 2
Attach the chassis to the rack.
We recommend that you install the chassis with the rear panel facing the cold aisle. (See the following illustration for an
example of air flow from back to front.)
Rack-mount the ASA , on page 1
Connect Cables, Turn on Power, and Verify Connectivity, on page 2
Connect to a Console Terminal or PC, on page 4
Mount and Connect
1
