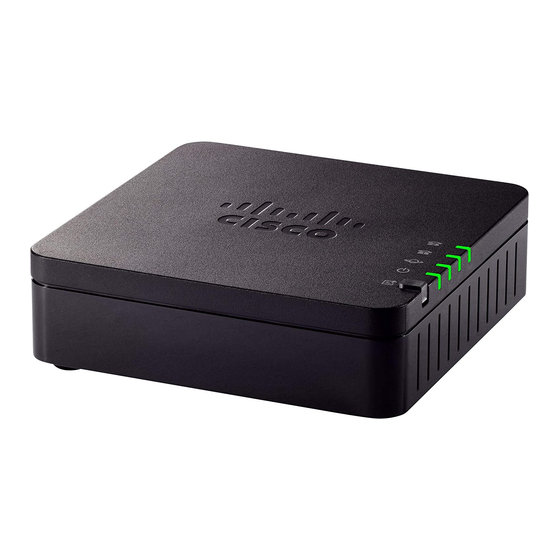
Cisco ATA 191 사용자 설명서 - 페이지 5
{카테고리_이름} Cisco ATA 191에 대한 사용자 설명서을 온라인으로 검색하거나 PDF를 다운로드하세요. Cisco ATA 191 30 페이지. Analog telephone adapter
Cisco ATA 191에 대해서도 마찬가지입니다: 사용자 설명서 (30 페이지), 관리 매뉴얼 (4 페이지), 사용자 설명서 (10 페이지), 시작하기 (8 페이지), 매뉴얼 (10 페이지), 빠른 시작 매뉴얼 (13 페이지), 설정 매뉴얼 (6 페이지), 사용자 설명서 (40 페이지)

Get Started with Your New ATA
•
•
•
•
•
Your new ATA
Your analog telephone adapter (ATA) allows you to connect an analog device, such as an analog phone or
fax machine, to your network. The connected device can then function like the IP phones in your network.
Your new analog telephone adapter (ATA) has two interfaces:
• Two RJ11 ports for analog devices
• A RJ45 port for Ethernet
Light-emitting diodes (LEDs) on the ATA provide status.
Install your ATA with the components that are included in the box.
You'll perform these tasks:
• Install your ATA with the components in the box.
Cisco ATA 191 Hardware
The ATA 191 and ATA 192 are compact, easy to install devices.
The unit provides these connectors:
• 5V DC power connector.
• Two RJ-11 FXS (Foreign Exchange Station) ports—Your ATA has two RJ-11 ports that work with any
• One WAN network port—An RJ-45 10/100BASE-T data port to connect an Ethernet-capable device to
Your new ATA, on page 1
Devices associated with your ATA, on page 4
Install your new ATA, on page 5
Mount Your ATA, on page 6
Supported ATA call features, on page 8
standard analog phone device. Each port supports either voice calls or fax sessions, and both ports can
be used simultaneously.
the network.
Cisco ATA 191 Analog Telephone Adapter User Guide for Cisco Unified Communications Manager
1
C H A P T E R
1
