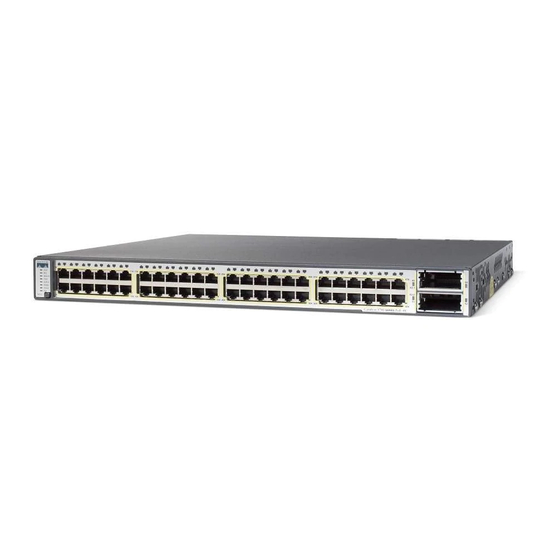
Cisco Catalyst 3750-E Series 시작하기 매뉴얼 - 페이지 8
{카테고리_이름} Cisco Catalyst 3750-E Series에 대한 시작하기 매뉴얼을 온라인으로 검색하거나 PDF를 다운로드하세요. Cisco Catalyst 3750-E Series 27 페이지. Switches and power supply modules
Cisco Catalyst 3750-E Series에 대해서도 마찬가지입니다: 시작하기 매뉴얼 (33 페이지), 제품 지원 게시판 (6 페이지), 제품 지원 게시판 (5 페이지), 제품 지원 게시판 (6 페이지), 설치 참고 사항 (20 페이지)

(Optional) Enter this information in the Advanced Setting fields:
Step 17
• In the Telnet Access field, click Enable if you are going to use Telnet to manage the
switch by using the command-line interface (CLI). If you enable Telnet access, you must
enter a Telnet password.
• In the Telnet Password field, enter a password. The Telnet password can be from 1 to
25 alphanumeric characters, is case sensitive, allows embedded spaces, but does not
allow spaces at the beginning or end. In the Confirm Telnet Password field, re-enter the
Telnet password.
• In the SNMP field, click Enable to enable Simple Network Management Protocol
(SNMP). Enable SNMP only if you plan to manage switches by using CiscoWorks 2000
or another SNMP-based network-management system.
• If you enable SNMP, you must enter a community string in the SNMP Read Community
field, the SNMP Write Community field, or both. SNMP community strings
authenticate access to MIB objects. Embedded spaces are not allowed in SNMP
community strings. When you set the SNMP read community, you can access SNMP
information, but you cannot change it. When you set the SNMP write community, you
can both access and change SNMP information.
• In the System Contact and System Location fields, enter a contact name and the wiring
closet, floor, or building where the switch is located.
(Optional) You can enable IPv6 on the switch in the Advanced Settings screen. In the Enable
Step 18
IPv6 field, click Enable to enable IPv6 on the switch.
Enabling IPv6 restarts the switch when you complete Express Setup.
Note
To complete Express Setup, click Submit in the Network Settings or the Advanced Settings
Step 19
screen to save your settings. Click Cancel to clear your settings.
When you click Submit, the switch is configured and exits Express Setup mode. The PC
displays a warning message and then tries to connect with the new switch IP address. If you
configured the switch with an IP address that is in a different subnet from the PC,
connectivity between the PC and the switch is lost. If you enabled IPv6, the switch restarts.
Step 20
Disconnect the switch from the PC, and install the switch in your production network. See
the "Managing the Switch" section on page 9 for information about configuring and
managing the switch.
If you need to rerun Express Setup, see the "Resetting the Switch" section on page 23.
8
