Digitrax SoundFX SDXN146K1E 매뉴얼 - 페이지 2
{카테고리_이름} Digitrax SoundFX SDXN146K1E에 대한 매뉴얼을 온라인으로 검색하거나 PDF를 다운로드하세요. Digitrax SoundFX SDXN146K1E 12 페이지.

Parts List
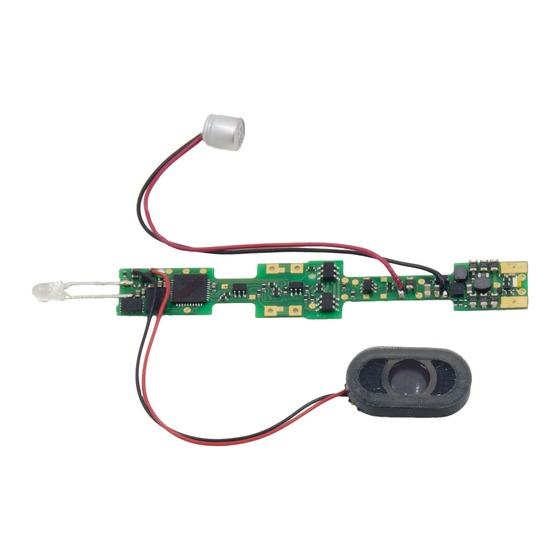
1 SDXN146K1E Function Decoder with SoundFX
1 Instruction Sheet
Installation Information
See the Digitrax Decoder Manual for complete decoder test procedures, instal-
lation instructions, programming and technical information. Digitrax manuals
and instructions are updated periodically. Please visit www.digitrax.com for the
latest versions, technical updates and additional locomotive-specific installation
instructions. CAUTION: Programming and layout track must not exceed
16V when using this decoder.
Installation Instructions
1.
Carefully remove the Locomotive shell.
2.
Remove the Factory Light board by sliding it back and up. Remove the facto-
ry motor clips from the light board.
3.
Attach the motor clips to the SDXN146K1E board. The motor clips may re-
quire some manipulation to ensure a sung fit and can be soldered if desired.
Motor Clips
Figure 1: SDXN146K1E: Locomotive with light board and motor clips removed
4.
Reinstall the SDXN146K1E by sliding it under the retention tabs on the
frame. Ensure that the motor clips are in contact with the motor tabs on the
locomotive. Also ensure the motor clips are NOT in contact with the Loco-
motive frame, insulating tape may be needed in the motor saddle area.
5.
Slide the speaker under the rear extended LED and place the capacitor inside
the Cab-clip cavity. Double sided tape can be used to help hold these items
in place. Fold and shape any excess wire so that it lays flat. See Figure 2 to
see completed installation.
© 2016 Digitrax, Inc.
Motor Tab
Motor Saddle Area
— 2 —
®
Cab-clip
www.digitrax.com
