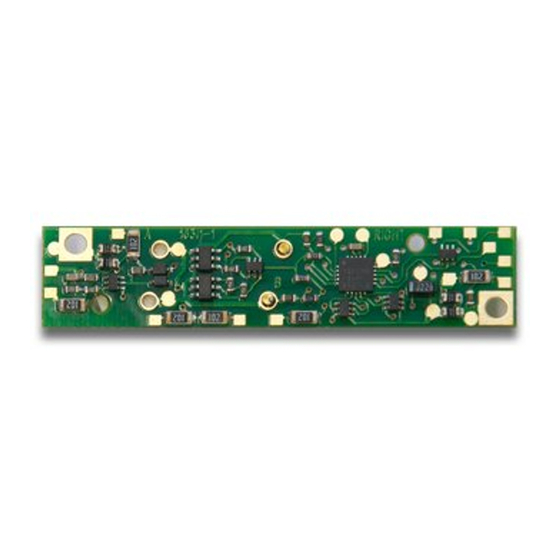
Digitrax DN166I1C 빠른 시작 매뉴얼 - 페이지 2
{카테고리_이름} Digitrax DN166I1C에 대한 빠른 시작 매뉴얼을 온라인으로 검색하거나 PDF를 다운로드하세요. Digitrax DN166I1C 8 페이지. Complete train control

Parts List
1 DN166I1C Mobile Decoder
Installation Information
See the Digitrax Decoder Manual for complete decoder test procedures, instal-
lation instructions, programming and technical information. Digitrax manuals
and instructions are updated periodically. Please visit www.digitrax.com for the
latest versions, technical updates and additional locomotive-specific installation
instructions. CAUTION: Programming and layout track must not exceed
16V when using this decoder.
Installation Instructions
1.
Carefully remove the locomotive's
shell from the frame by inserting
two toothpicks under the unit's
ladders as shown.
2.
Once you've positioned the tooth-
picks, grasp the frame and tooth-
picks with one hand and the loco-
motive's shell with the other hand
and carefully separate the two.
3.
Once the shell is off, remove the
existing light board by removing the
two screws located on the diagonal
corners of the board. The final step
in removing the light board is to
carefully unsolder the two wires
leading from the headlight assem-
bly.
4.
Take the new DN166I1C decoder
and place it on top of the frame.
Note proper orientation. The decod-
er's brass motor contacts should fit
in the frame slot as shown.
5.
Solder headlight leads to the new
decoder board as shown If you were
sitting in the cab, the yellow lead
would be on your left and the green
lead would be on your right. The
final step is to secure the decoder
with the original screws. Note: the locomotive's frame halves may have to be
loosened slightly to achieve proper alignment.
© 2014 Digitrax, Inc.
Figure 1: Insert
toothpicks as
shown
Figure 3: Unscrew, unsolder
and remove standard lightboard
— 2 —
1 Instruction Sheet
Tooth-
picks
inserted
under
center of
body
Figure 2:
Remove shell
from frame.
Board shown
partially
removed.
www.digitrax.com
