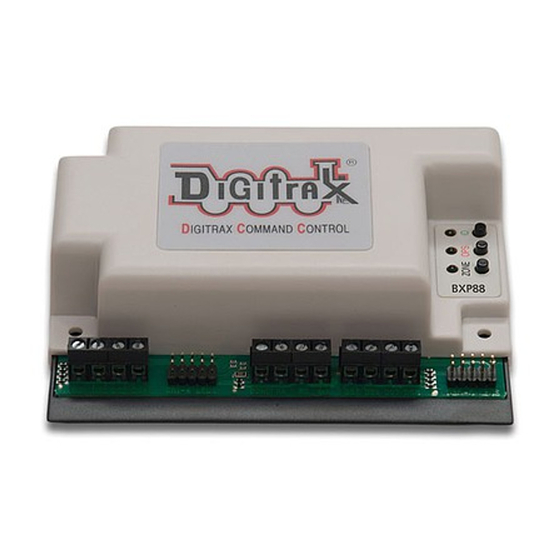
Digitrax BXP88 사용 설명서 - 페이지 6
{카테고리_이름} Digitrax BXP88에 대한 사용 설명서을 온라인으로 검색하거나 PDF를 다운로드하세요. Digitrax BXP88 16 페이지.

5.0 BXP88 Installation
1.
Power down your Digitrax LocoNet System.
2.
Determine an appropriate mounting location for your BXP88.
3.
Mount the BXP88 in the appropriate location. The BXP88 is equipped with
removable screw terminals for easy wiring once the unit is mounted.
4.
Connect the "BGND" terminal to the General Return bus that connects all
your boosters. This should be a heavy gauge wire.
5.
Connect "RA" to the Rail A terminal on the booster that will be powering the
8 sections.
6.
Connect "RB" to the Rail B terminal on the booster that will be powering the
8 Sections.
Note: Rail A and Rail B should consistent between all Power Districts, you may
need to switch the Rail A and Rail B connections in the above steps.
7.
Connect "RAX" to the common Rail A for all 8 detection sections.
8.
Connect "DS1"-"DS8" to each isolated Rail B detection sections.
9.
Connect to LocoNet via the LocoNet port using a known good LocoNet Cable.
10. Connect optional auxiliary 9V 150ma DC power supply using the power
barrel plug connector.
See Figure 1: BXP88 Installation Example for a typical installation.
6.0 Turning on your system and configuring the
BXP88
Once you have installed your BXP88, you may turn on your system. There are
several tests you can perform to ensure that the BXP88 is properly functioning.
1.
Power on your Digitrax System and the sections of your layout where the
BXP88 is connected.
2.
Using a small piece of wire or some other conductor short the "RA" and "RB"
terminals together the booster connected to the BXP88 should reliably shut
down.
3.
Test each detection sections 1-8 by shorting across the tracks they are con-
nected too. Using the LT5 tester included plugged into the "DS1-4 LEDS"
and "DS5-8 LEDS" header you should see each corresponding Detection
section LED blink fast when the short is present.
4.
If the Booster powering the BXP88 shuts down during these tests you will
need to lower the resistance of your wiring.
5.
For additional Detection and Transponding Testing please refer to sections
12 and 13.
© 2017 Digitrax, Inc.
— 6 —
www.digitrax.com
