Cisco PIX 501 빠른 시작 매뉴얼 - 페이지 9
{카테고리_이름} Cisco PIX 501에 대한 빠른 시작 매뉴얼을 온라인으로 검색하거나 PDF를 다운로드하세요. Cisco PIX 501 20 페이지. Data sheet
Cisco PIX 501에 대해서도 마찬가지입니다: 빠른 시작 매뉴얼 (20 페이지), 데이터시트 (8 페이지), 빠른 시작 매뉴얼 (21 페이지), 빠른 시작 매뉴얼 (18 페이지)

PDM version 2.0 and higher releases include a Startup Wizard for initial configuration. Follow these steps
to load PDM and use the Startup Wizard:
Use an Ethernet cable to connect your PC to one of the four switched inside ports (numbered
Step 1
1 through 4) on the rear panel of the PIX Firewall.
Configure your PC to use DHCP (to receive an IP address automatically from the
Step 2
PIX Firewall) or assign a static IP address to your PC by selecting an address out of the
192.168.1.0 network.
The inside interface of the PIX Firewall is assigned 192.168.1.1, so choose a different
Note
IP address.
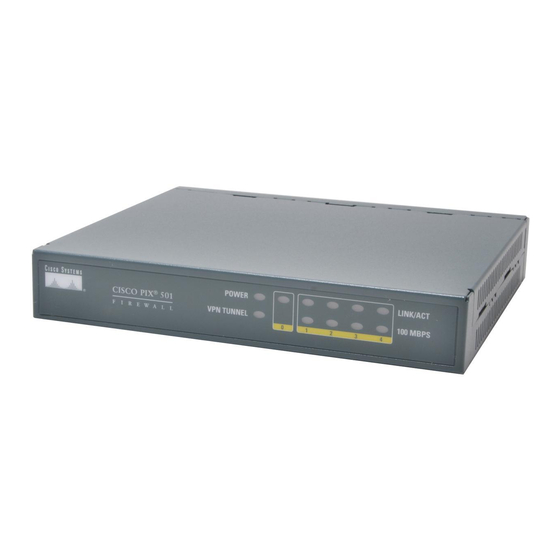
Check the LINK LED to verify that your PC has basic connectivity to the PIX Firewall on one
Step 3
of the inside ports (1 through 4). When connectivity occurs, the LINK LED on the front panel
of the PIX Firewall lights up solid green.
To access the Startup Wizard, use a PC connected to one of the PIX Firewall switch ports and enter
Step 4
the URL https://192.168.1.1/startup.html into your browser
It is very important to enter the "s" in "https://192.168.1.1," which indicates
Note
a secure connection. If you enter "http://192.168.1.1" without the "s" in
"https," you cannot access the PIX Firewall.
Accept the certificates and follow the instructions in the Startup Wizard. For online help, click
Step 5
the Help button at the bottom of the Startup Wizard window.
.
9
