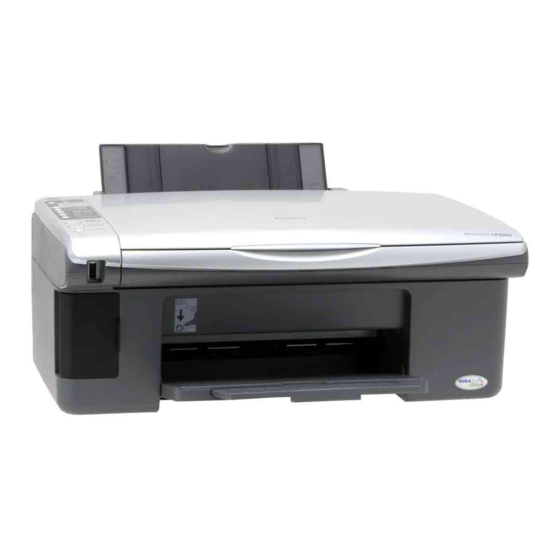
Epson CX5000 - Stylus Color Inkjet 매뉴얼 - 페이지 12
{카테고리_이름} Epson CX5000 - Stylus Color Inkjet에 대한 매뉴얼을 온라인으로 검색하거나 PDF를 다운로드하세요. Epson CX5000 - Stylus Color Inkjet 19 페이지. Epson scan icm updater v1.20 (psb.2008.07.001)
Epson CX5000 - Stylus Color Inkjet에 대해서도 마찬가지입니다: 여기에서 시작하기 매뉴얼 (8 페이지), 여기에서 시작하기 매뉴얼 (8 페이지), 업데이트 (1 페이지), 빠른 시작 매뉴얼 (4 페이지)

Epson Stylus CX5000 Series
Restoring Color in Faded Photos
Using the
Color Restoration
automatically transform an old, faded, or badly exposed photo
into one with true-to-life color and sharpness as you scan.
1. Place your original photo on the scanner as described on
page 6.
2. Start EPSON Scan. See page 11 for instructions:
3. When the EPSON Scan window appears, do one of the
following, depending on the currently selected scan mode:
❏ Home or Professional Mode: go to step 4.
❏ Full Auto Mode: click the
Color Restoration
with step 9.
4. Select the basic settings for the type of original(s) you are
scanning, then select the destination setting for the way you
will use your image(s). See the on-screen User's Guide for
instructions.
5. Click the
button to preview your image(s), then
Preview
select your scan area.
6. Do one of the following to select the Color Restoration
option:
❏ Home Mode: Click the
❏ Professional Mode: Scroll down to the Adjustments
area and click the
Color Restoration
12
feature in EPSON Scan, you can
button, click the
Customize
checkbox, and click
. Continue
OK
checkbox.
Color Restoration
checkbox.
7. Make any other necessary image adjustments.
8. Size your image as necessary.
9. Click the
button to scan and restore the color in your
Scan
image(s).
What happens next depends on how you started EPSON
Scan. See the on-screen User's Guide for details.
Checking the Print Head Nozzles
and Ink
If your printouts are faint or have gaps in them, some of the
nozzles in the print head may be clogged or ink may be
running low in one or more of the ink cartridges. Follow the
steps below to check the print head nozzles and remaining ink
levels using the control panel.
1. Turn off the CX5000 Series.
2. Load letter-size paper in the sheet feeder.
3. Press the B ink and
down for about 3 seconds. The CX5000 Series turns on and
prints a test pattern. It also shows the percentage of ink left
in each cartridge:
Print head
nozzles are clean:
Print head needs
to be cleaned:
If the pattern does not look good, try cleaning the print
head as described below.
Note:
You can also check the ink level using Status Monitor (see the
on-screen User's Guide).
Cleaning the Print Head
If your printouts are unexpectedly light or faint, or you notice
light or dark bands across your printout, you may need to
clean the print head. This unclogs the nozzles so they can
deliver ink properly. Run a nozzle check (as described above)
to see if the print head needs cleaning.
6/06
buttons together and hold them
On
