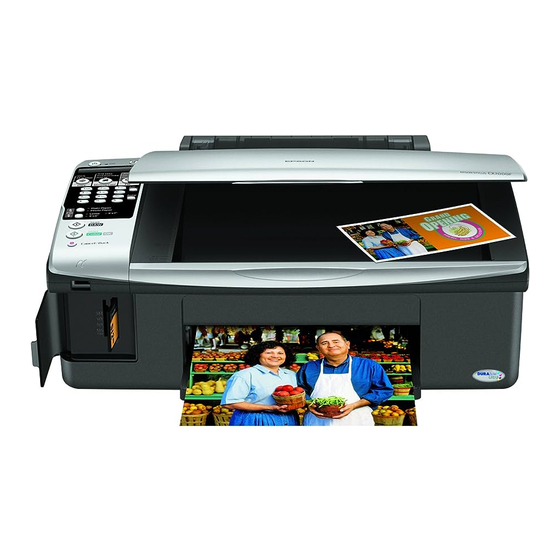
Epson CX7000F - Stylus Color Inkjet 여기에서 시작하기 매뉴얼 - 페이지 6
{카테고리_이름} Epson CX7000F - Stylus Color Inkjet에 대한 여기에서 시작하기 매뉴얼을 온라인으로 검색하거나 PDF를 다운로드하세요. Epson CX7000F - Stylus Color Inkjet 8 페이지. Supplemental / late breaking information windows vista
Epson CX7000F - Stylus Color Inkjet에 대해서도 마찬가지입니다: 빠른 매뉴얼 (20 페이지), 업데이트 (1 페이지), 보충제 (1 페이지), 빠른 시작 매뉴얼 (4 페이지)

Macintosh
1
Insert the CX7000F Series CD.
2
Open the Epson CD-ROM desktop icon and double-click
the
Epson icon.
3
Click Install and follow the on-screen instructions to install your drivers.
Software installation and setup take several minutes. If necessary, close
any open windows on your screen to return to the installer.
4
When prompted, connect the USB cable to the computer first. Then
connect the cable to the printer. Make sure the CX7000F Series is
turned on.
5
When you see this screen, click Open the Printer List.
6
Follow the instructions to the right to add the printer.
7
Click Next again, if necessary.
8
Follow the on-screen instructions to install the rest of the software and
print a test page.
9
When you're done, eject the CD.
You're ready to copy, print, and scan! See the Basics Guide or your on-screen
User's Guide.
Instructions
