Epson CX7000F - Stylus Color Inkjet 여기에서 시작하기 매뉴얼 - 페이지 7
{카테고리_이름} Epson CX7000F - Stylus Color Inkjet에 대한 여기에서 시작하기 매뉴얼을 온라인으로 검색하거나 PDF를 다운로드하세요. Epson CX7000F - Stylus Color Inkjet 8 페이지. Supplemental / late breaking information windows vista
Epson CX7000F - Stylus Color Inkjet에 대해서도 마찬가지입니다: 빠른 매뉴얼 (20 페이지), 업데이트 (1 페이지), 보충제 (1 페이지), 빠른 시작 매뉴얼 (4 페이지)
6
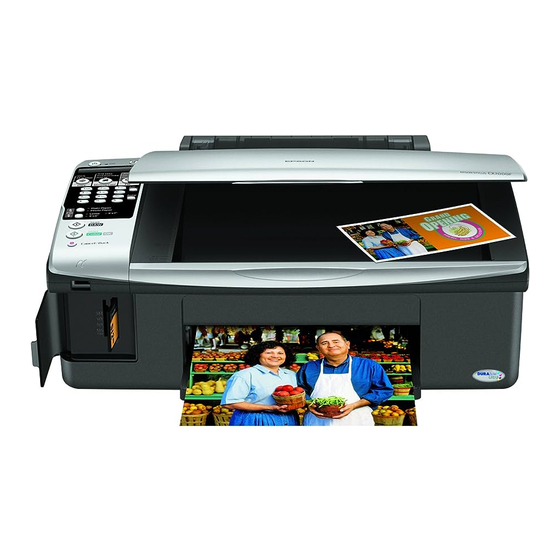
Connect the Phone Line
If you are going to connect a dedicated phone line to the CX7000F Series for
faxing, connect it as shown here.
If you want to connect a telephone or answering machine, see the
Basics Guide for instructions.
Connect the phone cable leading from your telephone wall jack to the LINE
port on the back of the CX7000F Series.
Note: If you connected the CX7000F Series to a DSL phone line, you must
install a DSL fi lter to the line or you won't be able to fax. Contact your DSL
provider for the necessary fi lter.
Any Problems?
Display screen
Start Color/OK button
• If you see a Paper out message on the display, reload paper and press
the
Start Color/OK button to continue.
• If you see a No ink cartridge message on the display, an ink cartridge
may be installed incorrectly. Press the
open the scanner and push down the cartridges and cartridge cover all
the way. See section 3 on the front of this sheet for instructions.
• If you see a Paper jam message on the display, press the
Start Color/OK button to eject the paper, then pull out the jammed
sheets from the sheet feeder or output tray. See the Basics Guide for
details.
See your Basics Guide and on-screen User's Guide for more problem-solving
information.
On light
Start Color/OK button, then