Epson Stylus Color 880 설정 매뉴얼 - 페이지 4

{카테고리_이름} Epson Stylus Color 880에 대한 설정 매뉴얼을 온라인으로 검색하거나 PDF를 다운로드하세요. Epson Stylus Color 880 17 페이지. Product support bulletin(s)
Epson Stylus Color 880에 대해서도 마찬가지입니다: 사양 시트 (2 페이지), 제품 지원 게시판 (6 페이지), 제품 지원 게시판 (1 페이지), 제품 정보 시트 (4 페이지), 사양 (2 페이지), 여기에서 시작 (4 페이지), 사용자 설명서 (13 페이지), 제품 지원 게시판 (3 페이지), 제품 지원 게시판 (2 페이지), 제품 지원 게시판 (4 페이지), 제품 지원 게시판 (7 페이지), 빠른 시작 매뉴얼 (2 페이지)
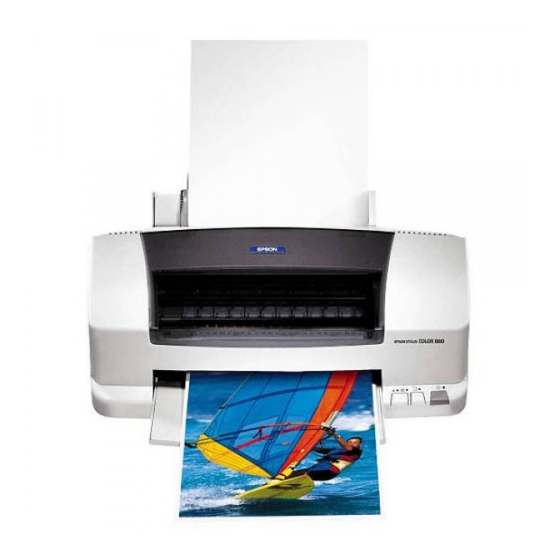
Epson Stylus Color 880 설정 매뉴얼
Using the USB interface for Windows and Macintosh users
To connect the printer to a USB port, you need a standard, shielded USB
cable. Follow the steps below.
1.
Make sure that both the printer and the computer are turned off.
2.
Plug the appropriate end of the
cable into the USB port at the
back of the printer. (The shape of
the end that fits the printer
differs from that of the end that
fits the computer.)
3.
Connect the other end of the
cable to the computer's USB
port.

Installing the Printer Software

After connecting the printer to your computer, you must install the software
that is included on the "Printer Software for EPSON Stylus COLOR 880"
CD-ROM shipped with your printer.
Your printer software CD-ROM includes the following:
Printer driver and utilities
The printer driver runs, or "drives," your printer; use it to make settings
such as print quality, speed, media type, and paper size. The Nozzle
Check, Head Cleaning, and Print Head Alignment utilities help you to
keep your printer in top operating condition. EPSON Status Monitor 3
(for Windows 98, 95, 2000, and NT 4.0) or EPSON StatusMonitor (for
Macintosh) notifies you of printer errors and displays printer status
information, such as the amount of ink remaining. The Status Monitor
also guides you through the ink replacement process.
Online guides
The online Reference Guide and the Color Guide help you to learn more
about your printer and color printing.
If you are using the floppy disk version of the software, make a backup copy
of the EPSON printer software disk before you begin installation. If you
wish to make a floppy disk version of the printer software, you can use the
driver disk creation utility that is included on the CD-ROM.