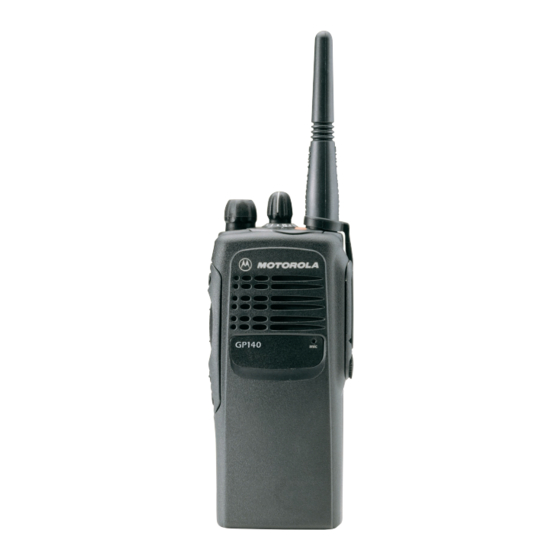
Motorola GP240 사용자 설명서 - 페이지 23
{카테고리_이름} Motorola GP240에 대한 사용자 설명서을 온라인으로 검색하거나 PDF를 다운로드하세요. Motorola GP240 46 페이지. Professional radio, power distribution and controller
Motorola GP240에 대해서도 마찬가지입니다: 사용자 설명서 (46 페이지), 서비스 정보 (32 페이지), 서비스 정보 (30 페이지), 서비스 정보 (30 페이지)

UG_240_280_EN.fm Page 19 Wednesday, August 14, 2002 10:30 AM
RECEIVING A CALL
1.
Turn the radio on and select the desired
zone and mode (see Selecting a Zone and
Mode).
2.
Your radio is now set to receive calls on the
selected mode.
MAKING A CALL
Conventional Modes
1.
Turn the radio on and select the desired
conventional zone and mode (see Selecting
a Zone and Mode).
2.
Press and hold the PTT switch on the side of
the radio and speak slowly and clearly into
the microphone area. The red LED lights
continuously when the radio is transmitting.
3.
When you have finished talking, release the
PTT to listen.
Note: Do not interrupt another user. If the present
mode is programmed to receive PL, ensure that
Downloaded from
www.Manualslib.com
manuals search engine
• If the mode-busy feature is enabled, a
blinking red LED on receive (PTT released)
indicates that the mode is currently busy.
• If a mode is programmed for receive only,
any attempt to transmit on that mode will cause
an invalid-mode tone to sound until the PTT
switch is released.
Trunked Modes
1.
Turn the radio on and select the desired
trunked zone and mode (see Selecting a
Zone and Mode).
2.
Press and hold the PTT switch on the side of
the radio and speak slowly and clearly into
the microphone area. The red LED lights
when the radio is transmitting. When you
have finished talking, release the PTT to
listen.
Note: If you hear a busy signal (a low-frequency
"bah-bah-bah-bah"), release the PTT switch and
wait for a call-back tone (sounds like "di-di-dit").
When you hear the call-back tone you will have
three seconds to press the PTT switch. This
