Motorola PIP1510-2 CONNECT 사용자 설명서 - 페이지 13
{카테고리_이름} Motorola PIP1510-2 CONNECT에 대한 사용자 설명서을 온라인으로 검색하거나 PDF를 다운로드하세요. Motorola PIP1510-2 CONNECT 29 페이지. 5.0" wi-fi motorized video baby monitor
Motorola PIP1510-2 CONNECT에 대해서도 마찬가지입니다: 사용자 설명서 (30 페이지)
Registering the baby (camera) unit to the parent unit
(Pairing)
We have paired the baby unit to the parent unit in the pack. In case you want to
pair an extra camera, press and hold
until the voice prompt 'Ready for pairing' is heard.
Wall mount the baby (camera) unit
1
4
1.
Mark the positions of 2 screw holes on the wall. Drill a screw hole at each
marking.
2. Install the supplied wall anchors into 2 screw holes on the wall.
3. Insert the supplied wall mounting screws into the wall anchors.
4. Remove the desk stand by loosening the screw on the underside of the
desk stand.
5. Fix and fasten this screw on the baby (camera) unit and the wall mount
bracket.
6. Hang the wall mount bracket on the wall mounting screws on the wall.
Note
The pack includes a power adapter with a longer cord which is beneficial for
wall mount application, where your wall socket is far from the camera.
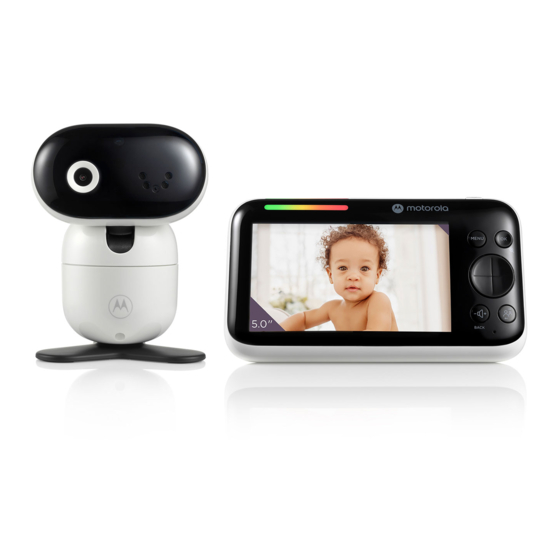
Getting to know your baby monitor
Press and hold
on the rear of the baby (camera) unit
2
5
3
6
13